For Christmas my siblings and I got a ping pong table. Now we don’t have it setup as a ping pong table, instead we have the playing surface resting on the kitchen table. This kind of turns our kitchen into a rec-room :P. Most people when they get a ping pong table might think “Awesome! A ping pong table!”, but I thought “Awesome! I get to build a Ping Pong ball serving robot!”
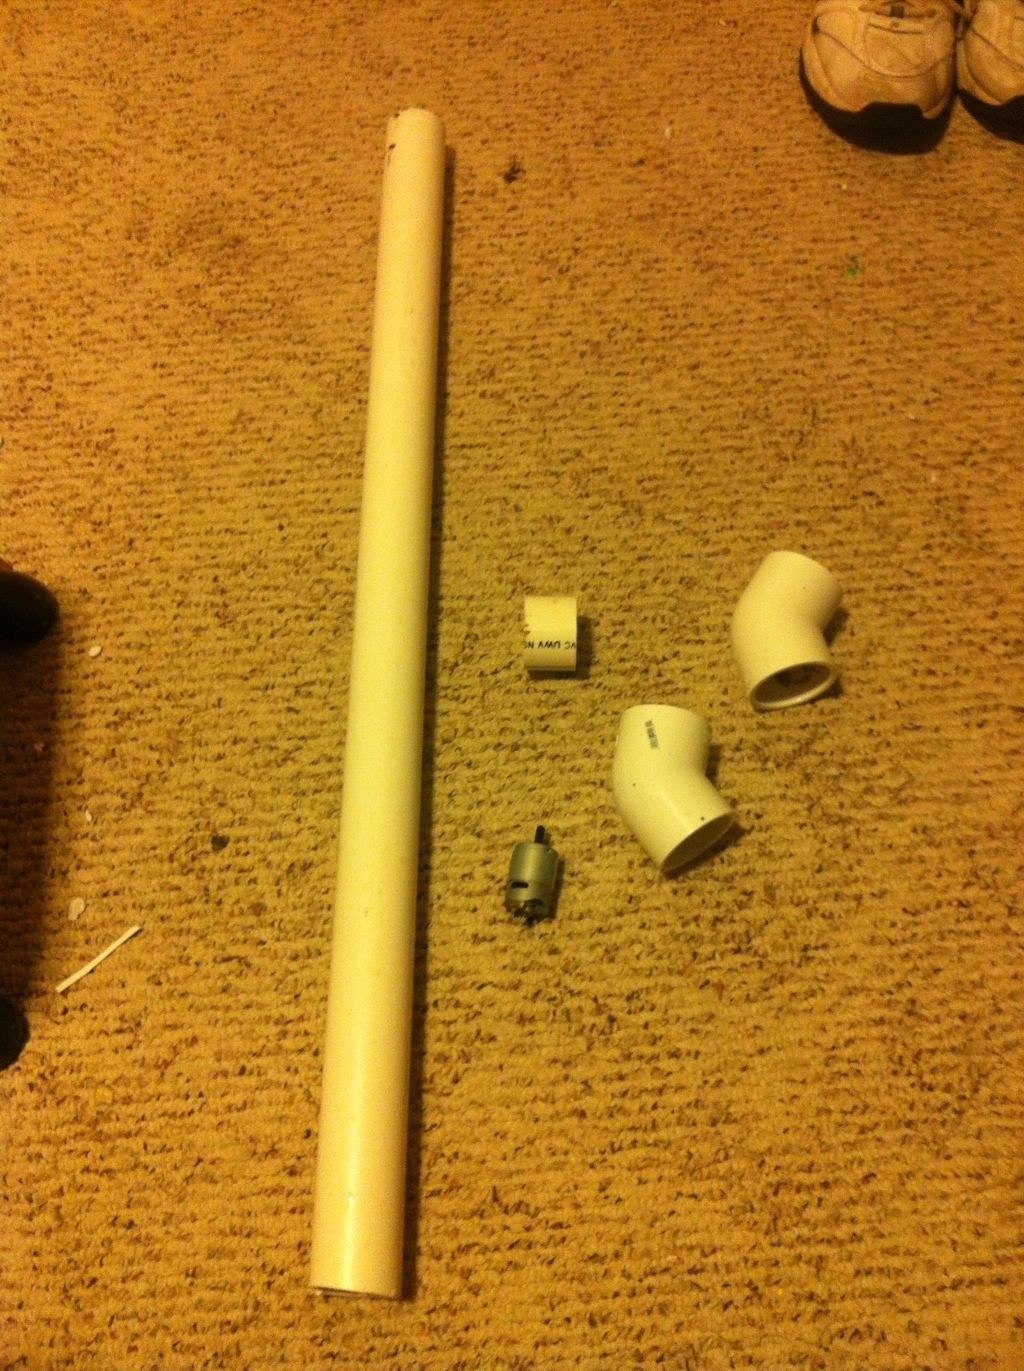
Friday night, I think it was, is when I began to work on my robot. I headed out to the shed and came back with 3ft of 1.5″ PVC pipe and various fittings. I then gathered materials to build the launcher head: a DC motor, an RC airplane wheel, and a Harbor Freight clamp.
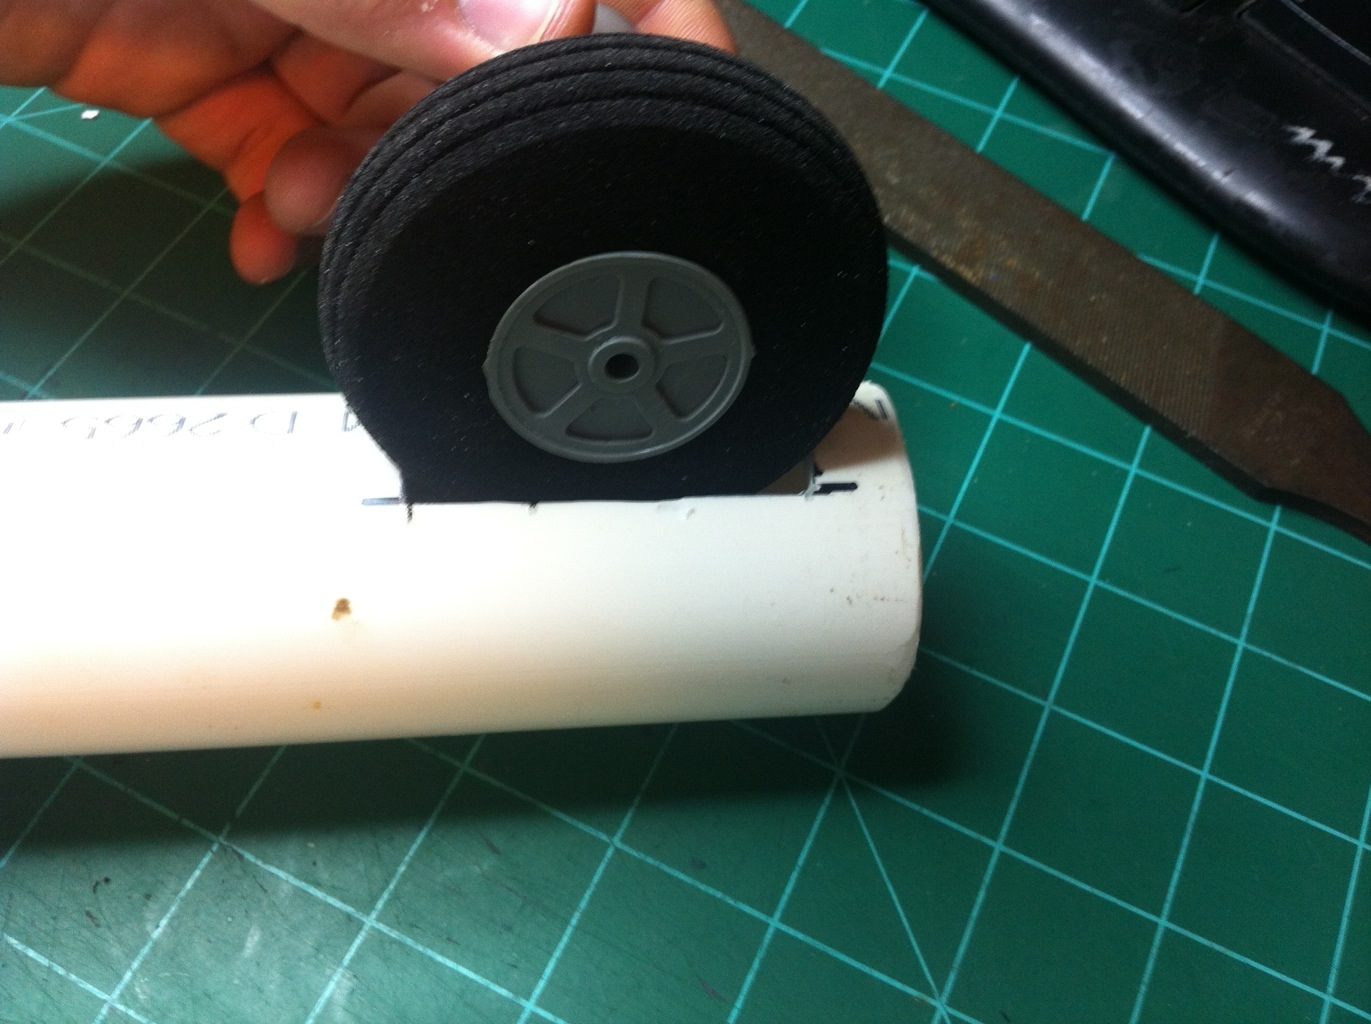
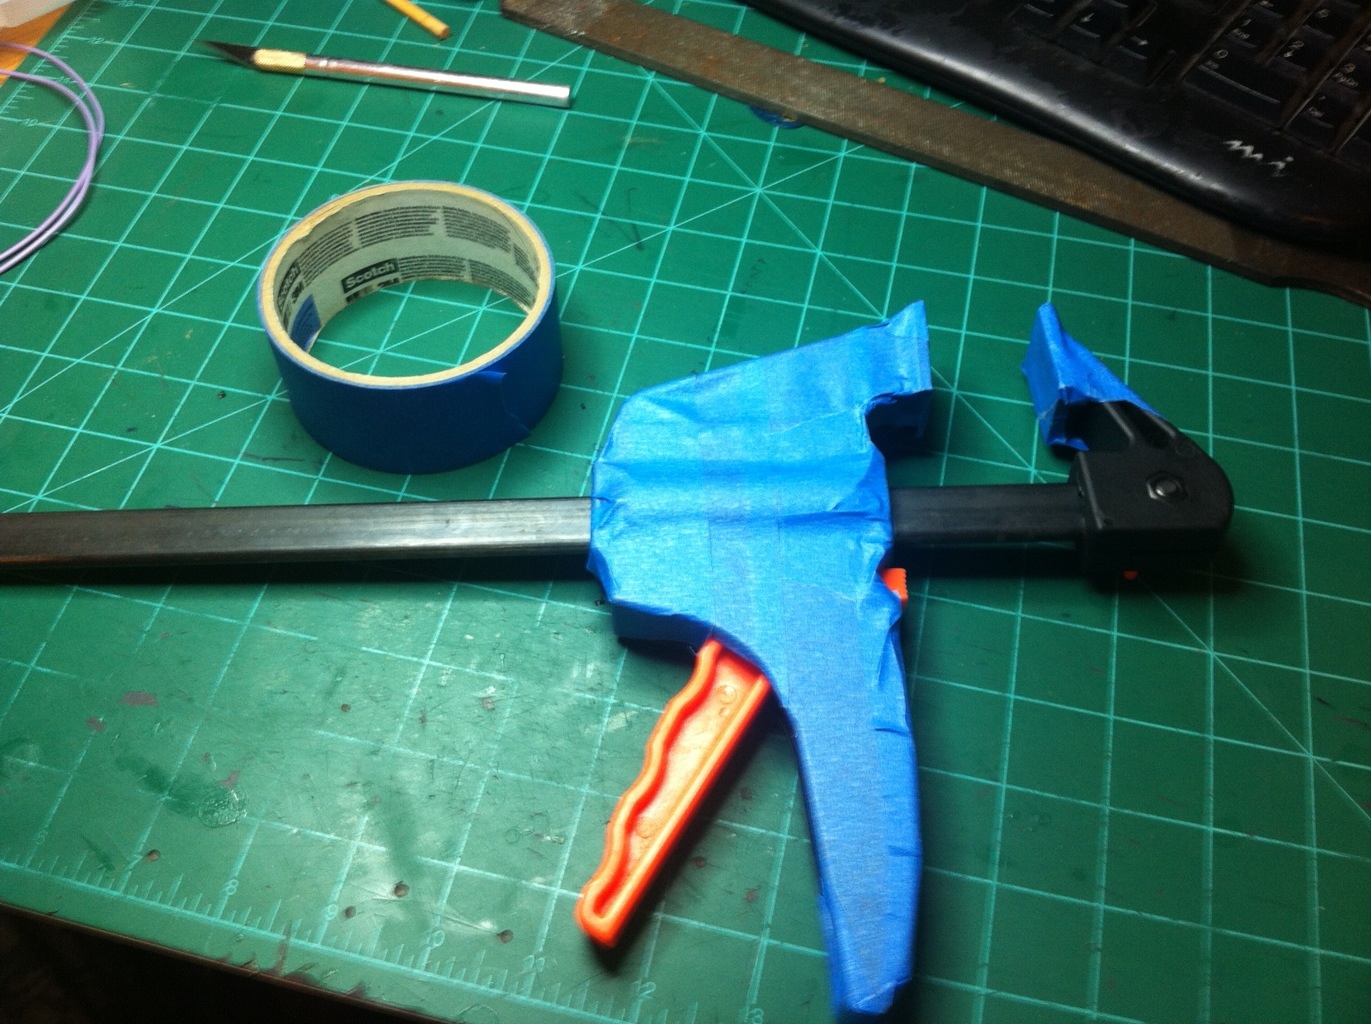
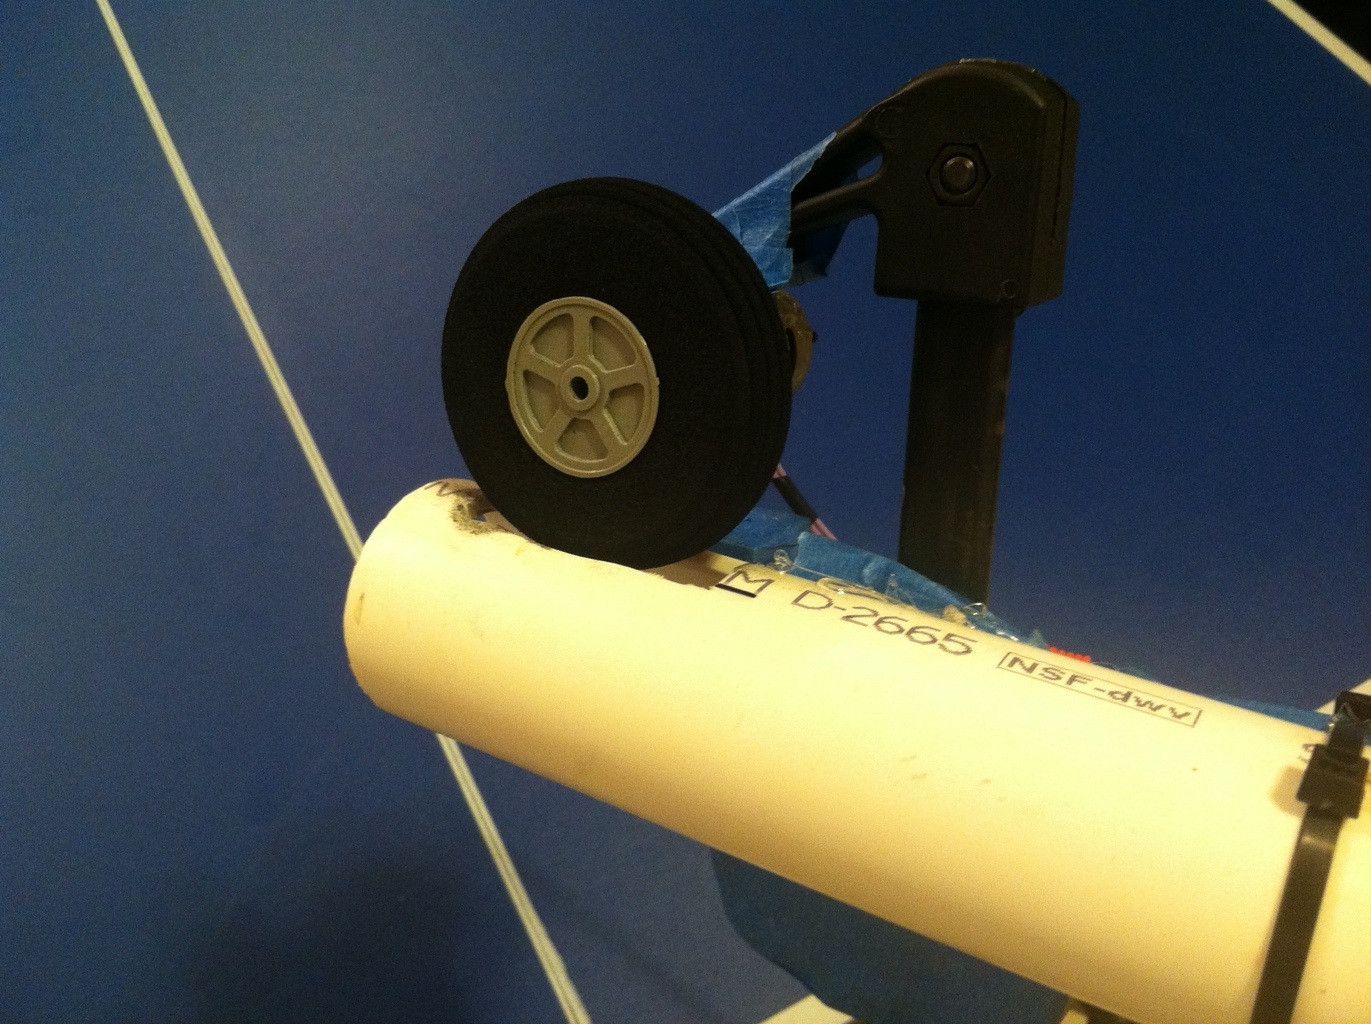
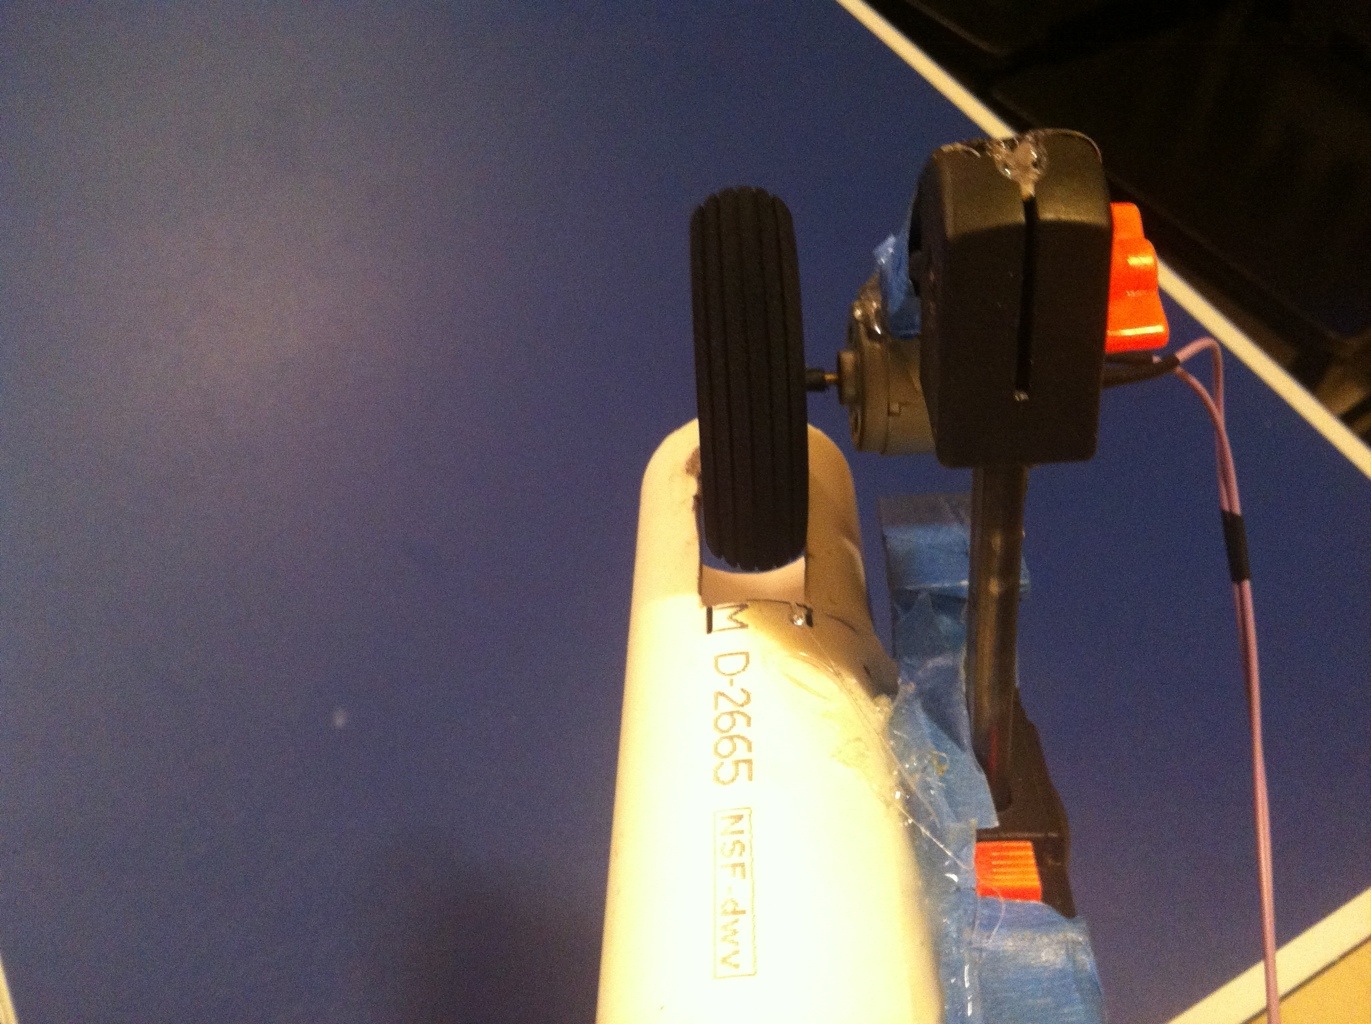
To build the launcher I hotglued the DC motor to a clamping surface of the clamp – I glued it to the surface that is not connected to the squeeze handle. Before I glued it, though, I covered most of the clamp with painters tape. I did this so that when I was done with the project I could just remove the tape and have a ‘brand new’ looking clamp as there would be no left over hotglue. After I mounted the motor to the clamp, I took the RC plane wheel and pushed it onto the motor’s shaft. This wheel will spin and grip and fling the tennis ball. Now I know with just one motor the spinning wheel will induce pretty heavy spin onto the ping pong ball which will make it difficult to return, but right now I’m just trying to get a launcher and then I’ll go from there.
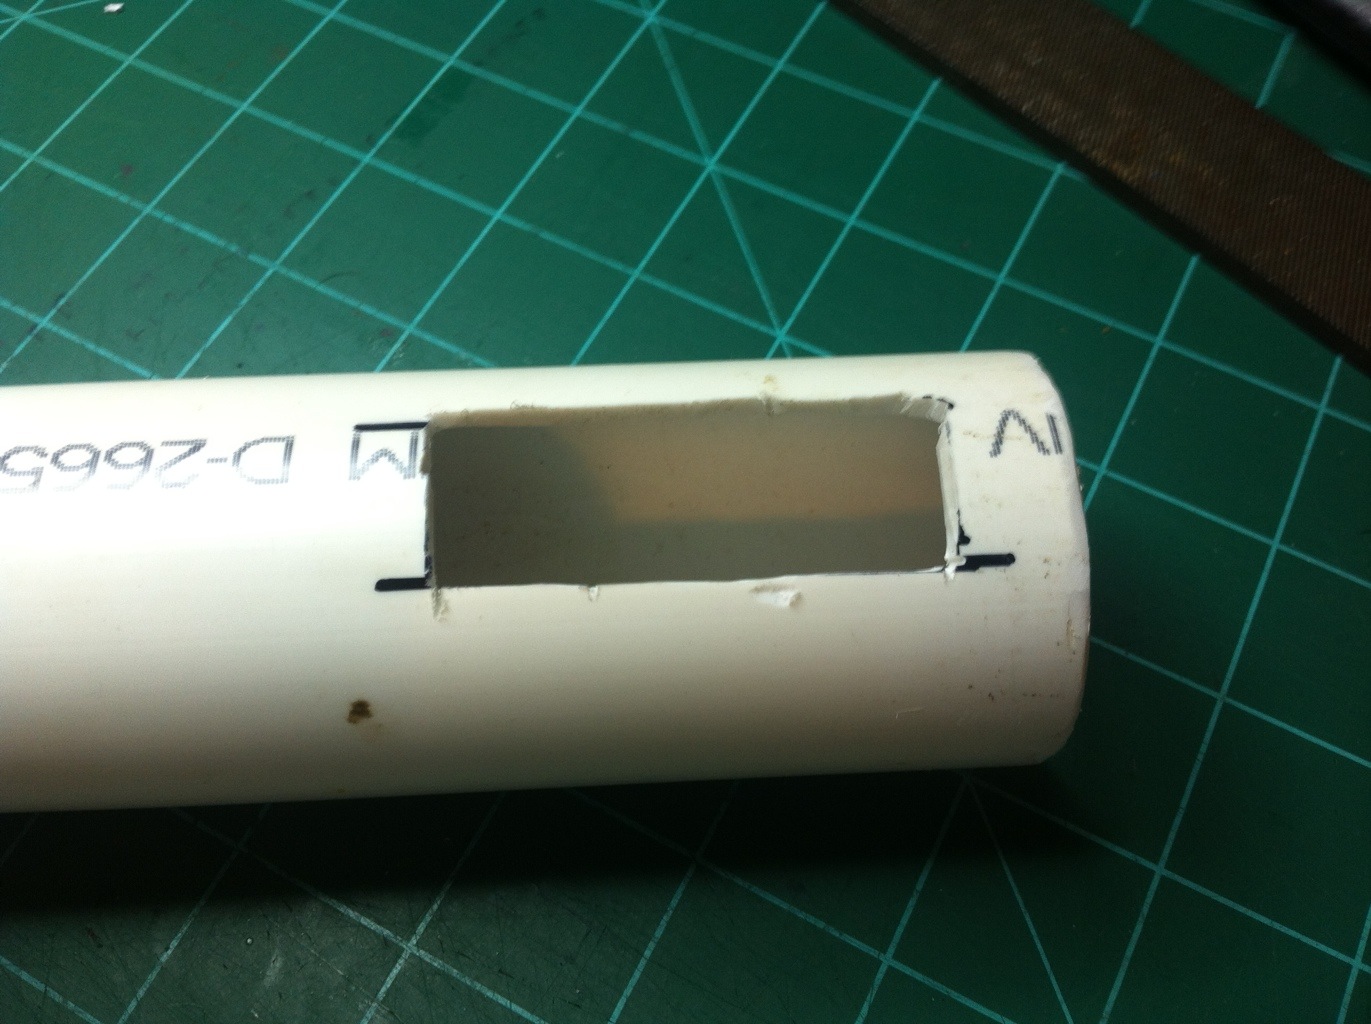
Next,I took my Dremel with a cut off wheel and I cut out a 7/8″ x 1-3/4″ opening into the 1.5″ PVC pipe. This is where my wheel will be spinning so the ping pong ball inside the tube can be gripped and flung. Now my problem with mounting this motor and wheel is that I’d like to adjust the pressure on the ball, or in simpler terms, move the motor up and down in relation the opening in the pipe. I thought for a while on how to do this easily. I didn’t want to have to make some type of screw assembly that I could turn to adjust the motor so that is where the clamp comes in. With the motor mounted to the clamp, and the clamp mounted to the PVC pipe, I can raise and lower the motor by squeezing the clamp closed or i can release the clamp to raise the motor. So obviously my next step was hot gluing the clamp onto the pipe.
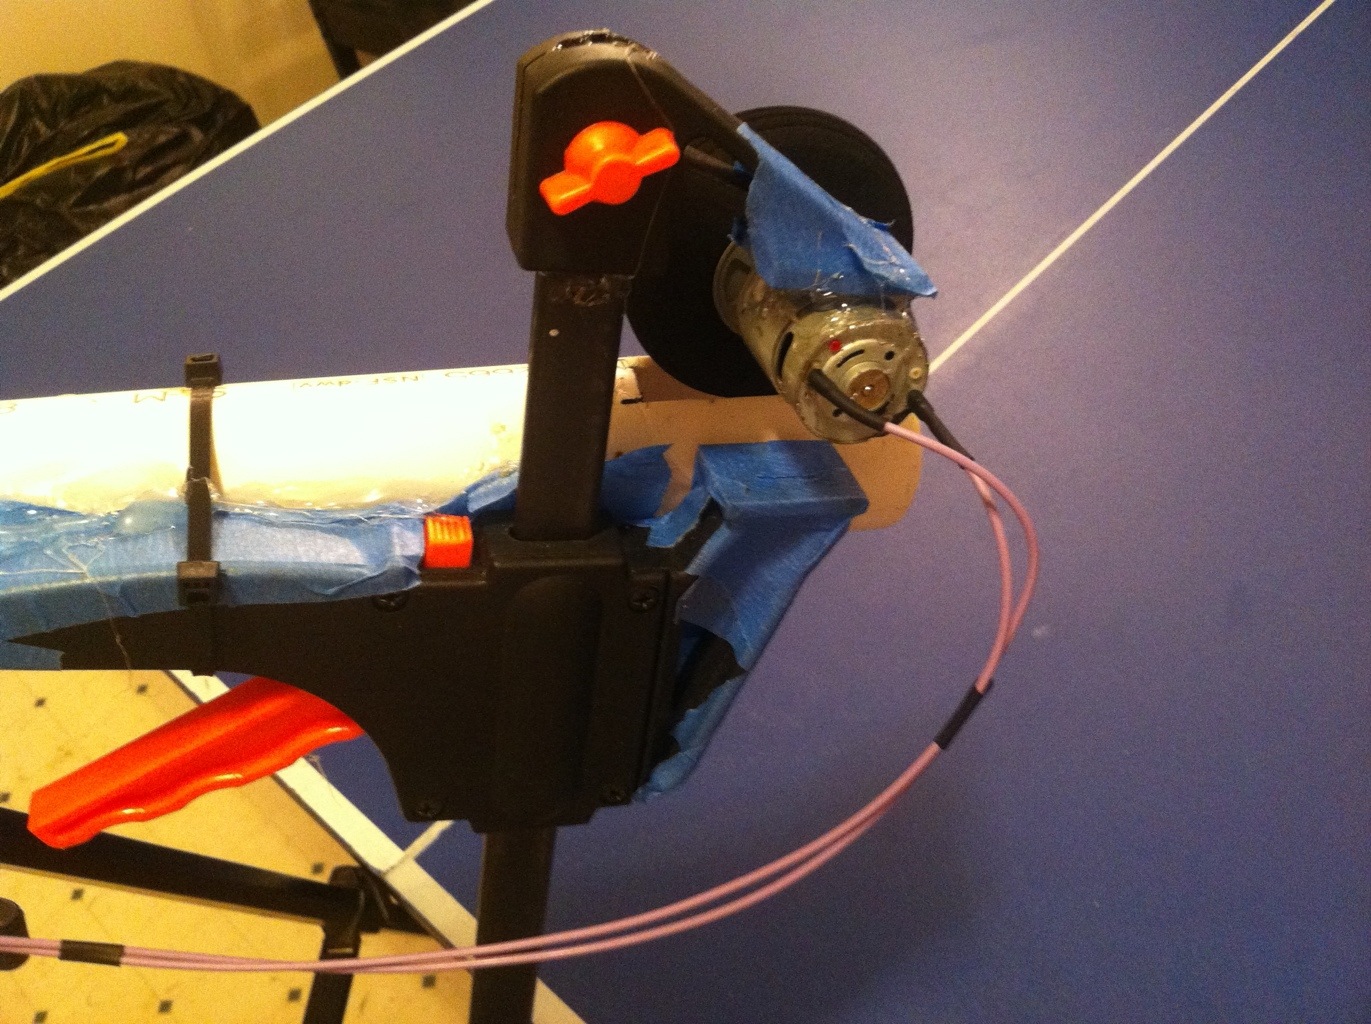
At this point my launch head was finished mechanically. Now it just needed power. I soldered on some wires to the motor with a barrel jack on the end. I then plugged the motor into a 9v 1.5a transformer I have and I spun up great. After playing with the tension of the motor to the ball, I could launch a ping pong ball from anywhere to 20 feet of more, down to a distance (and speed) that was typical in a ping pong game.
Now this launcher head is very rough. One major problem is the wheel. When the motor spins up, the soft foam rubber wheel expands greatly due to the centrifugal forces. I will need to find a much sturdier wheel that I can use. Also, I need to build a hopper and a way to dispense the balls one at a time. You will probably see more about this project in the future.
Happy New Years!

What is the motors rpm?