While working on the first prototype of the firecracker dispenser and lighter, I wanted to take some video of it when I realized I couldn’t attach my iPhone to a tripod. I know you can buy things that make it to where you can do this, but why buy it when you can make your own . . .
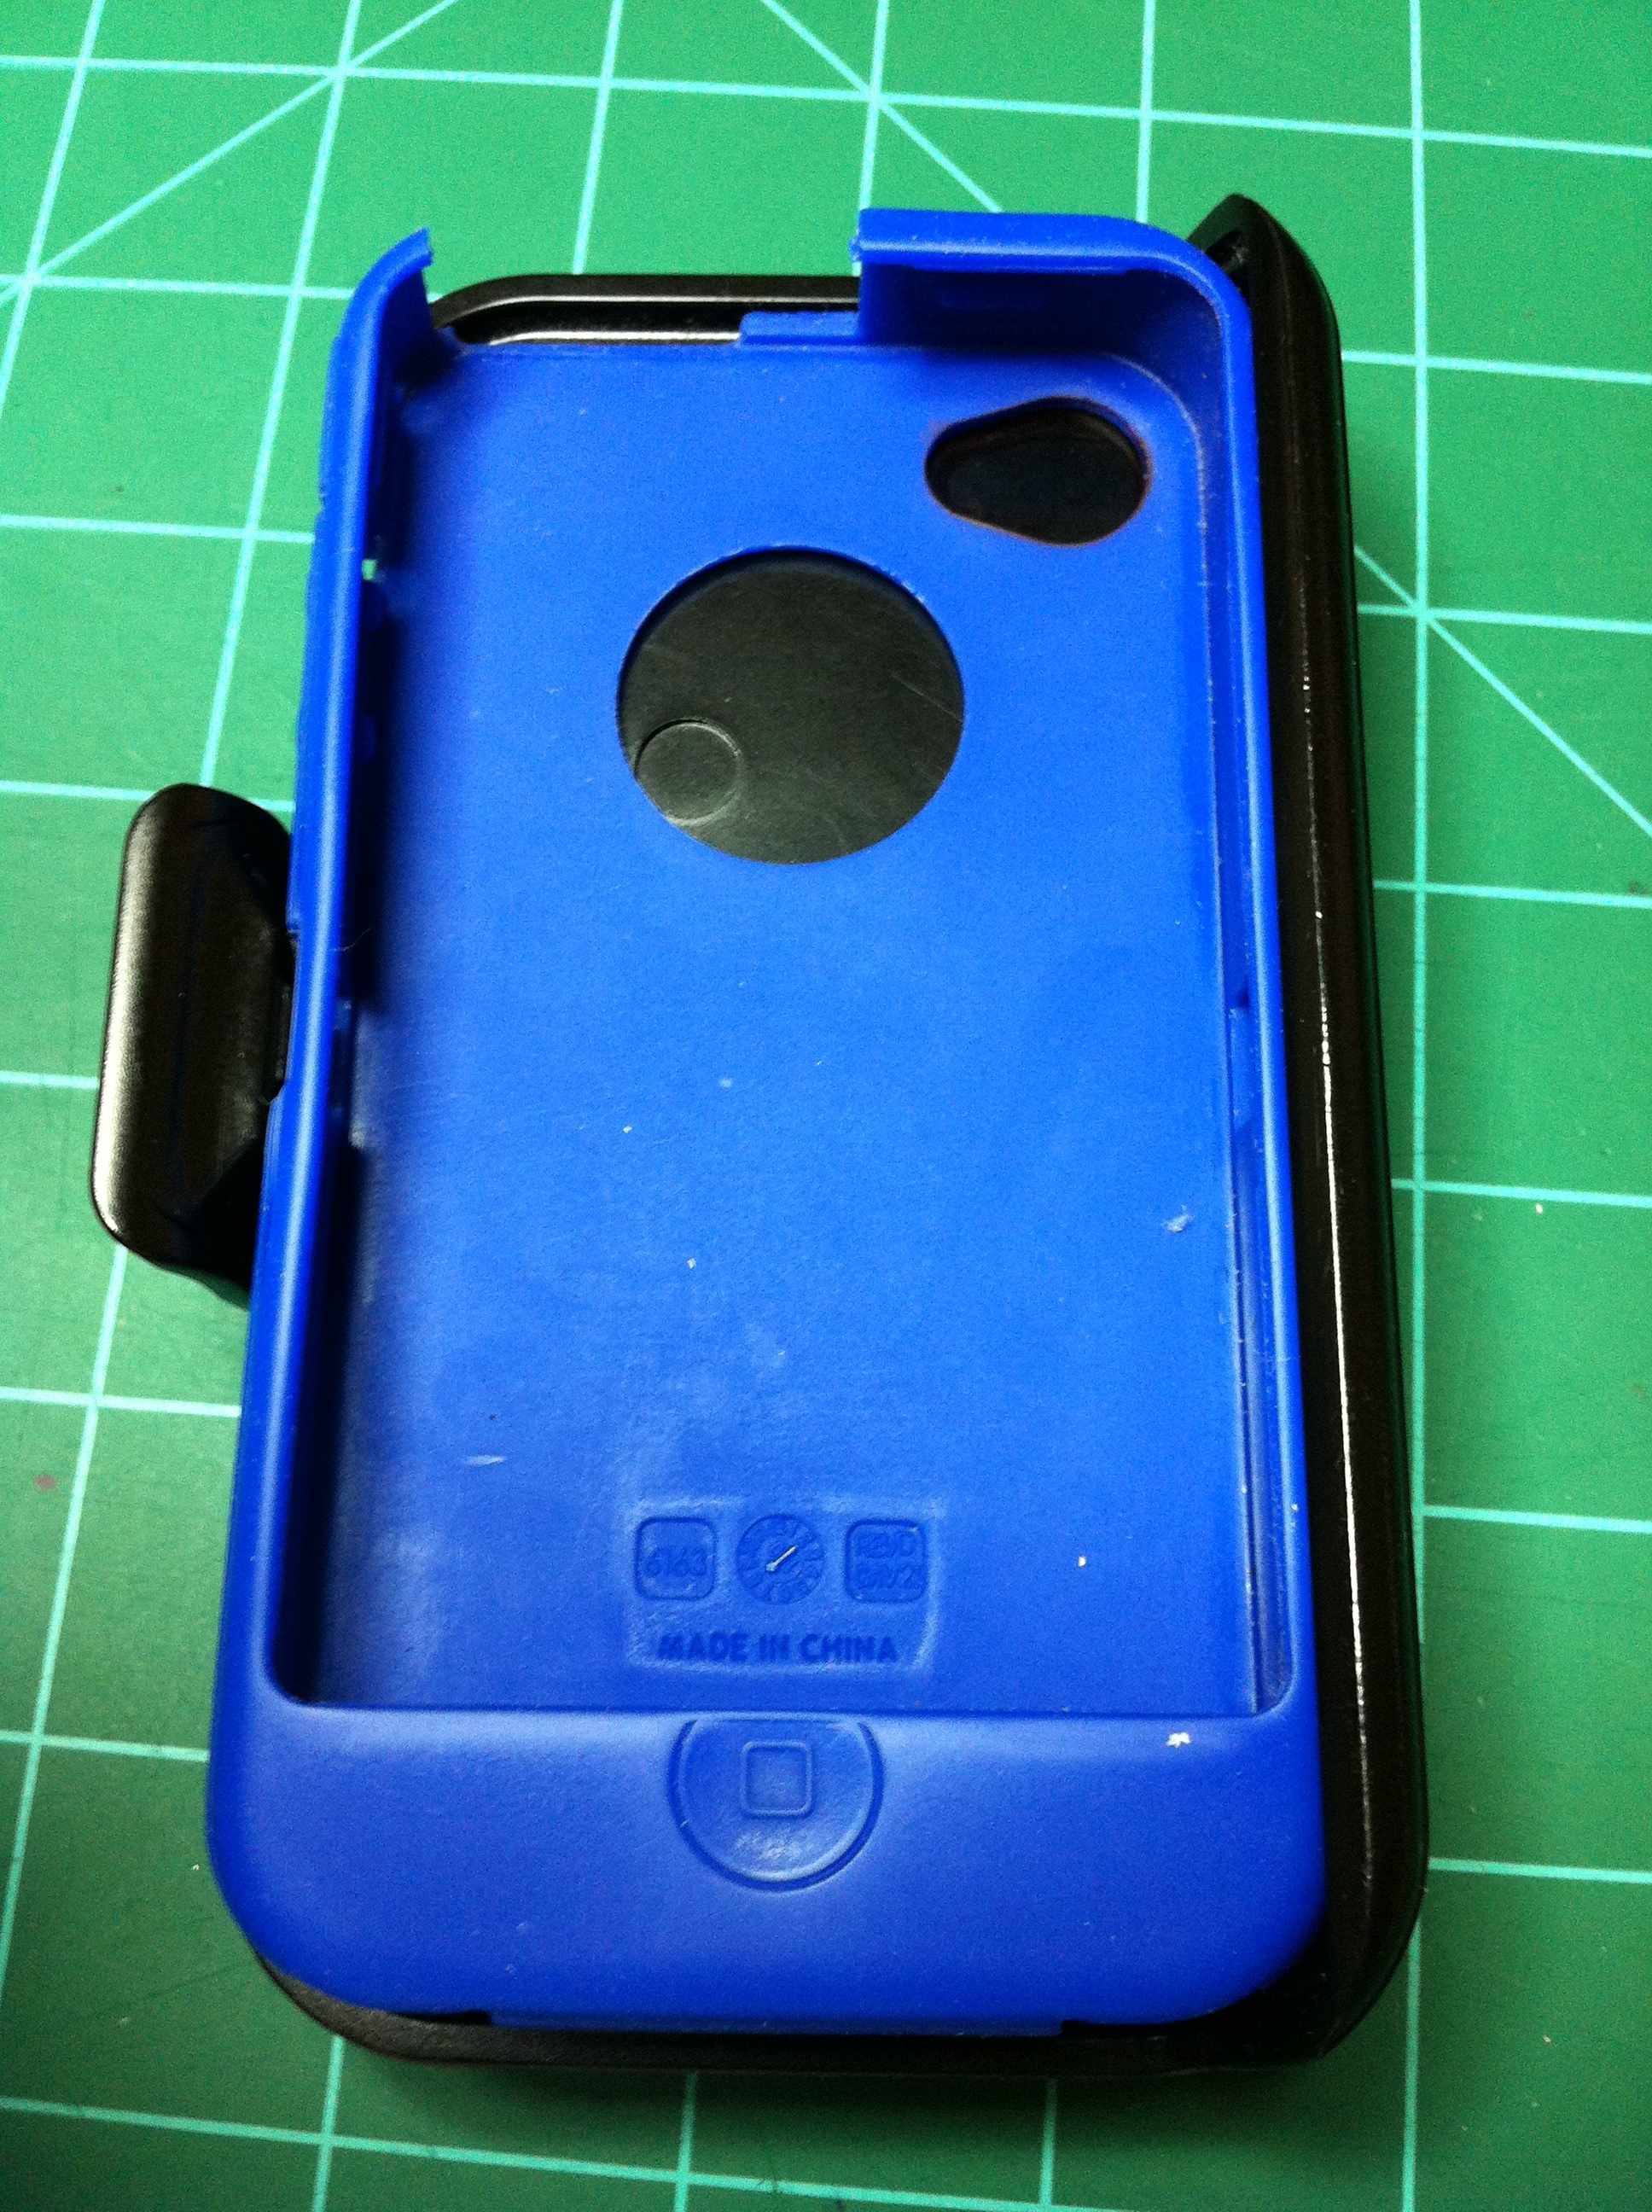
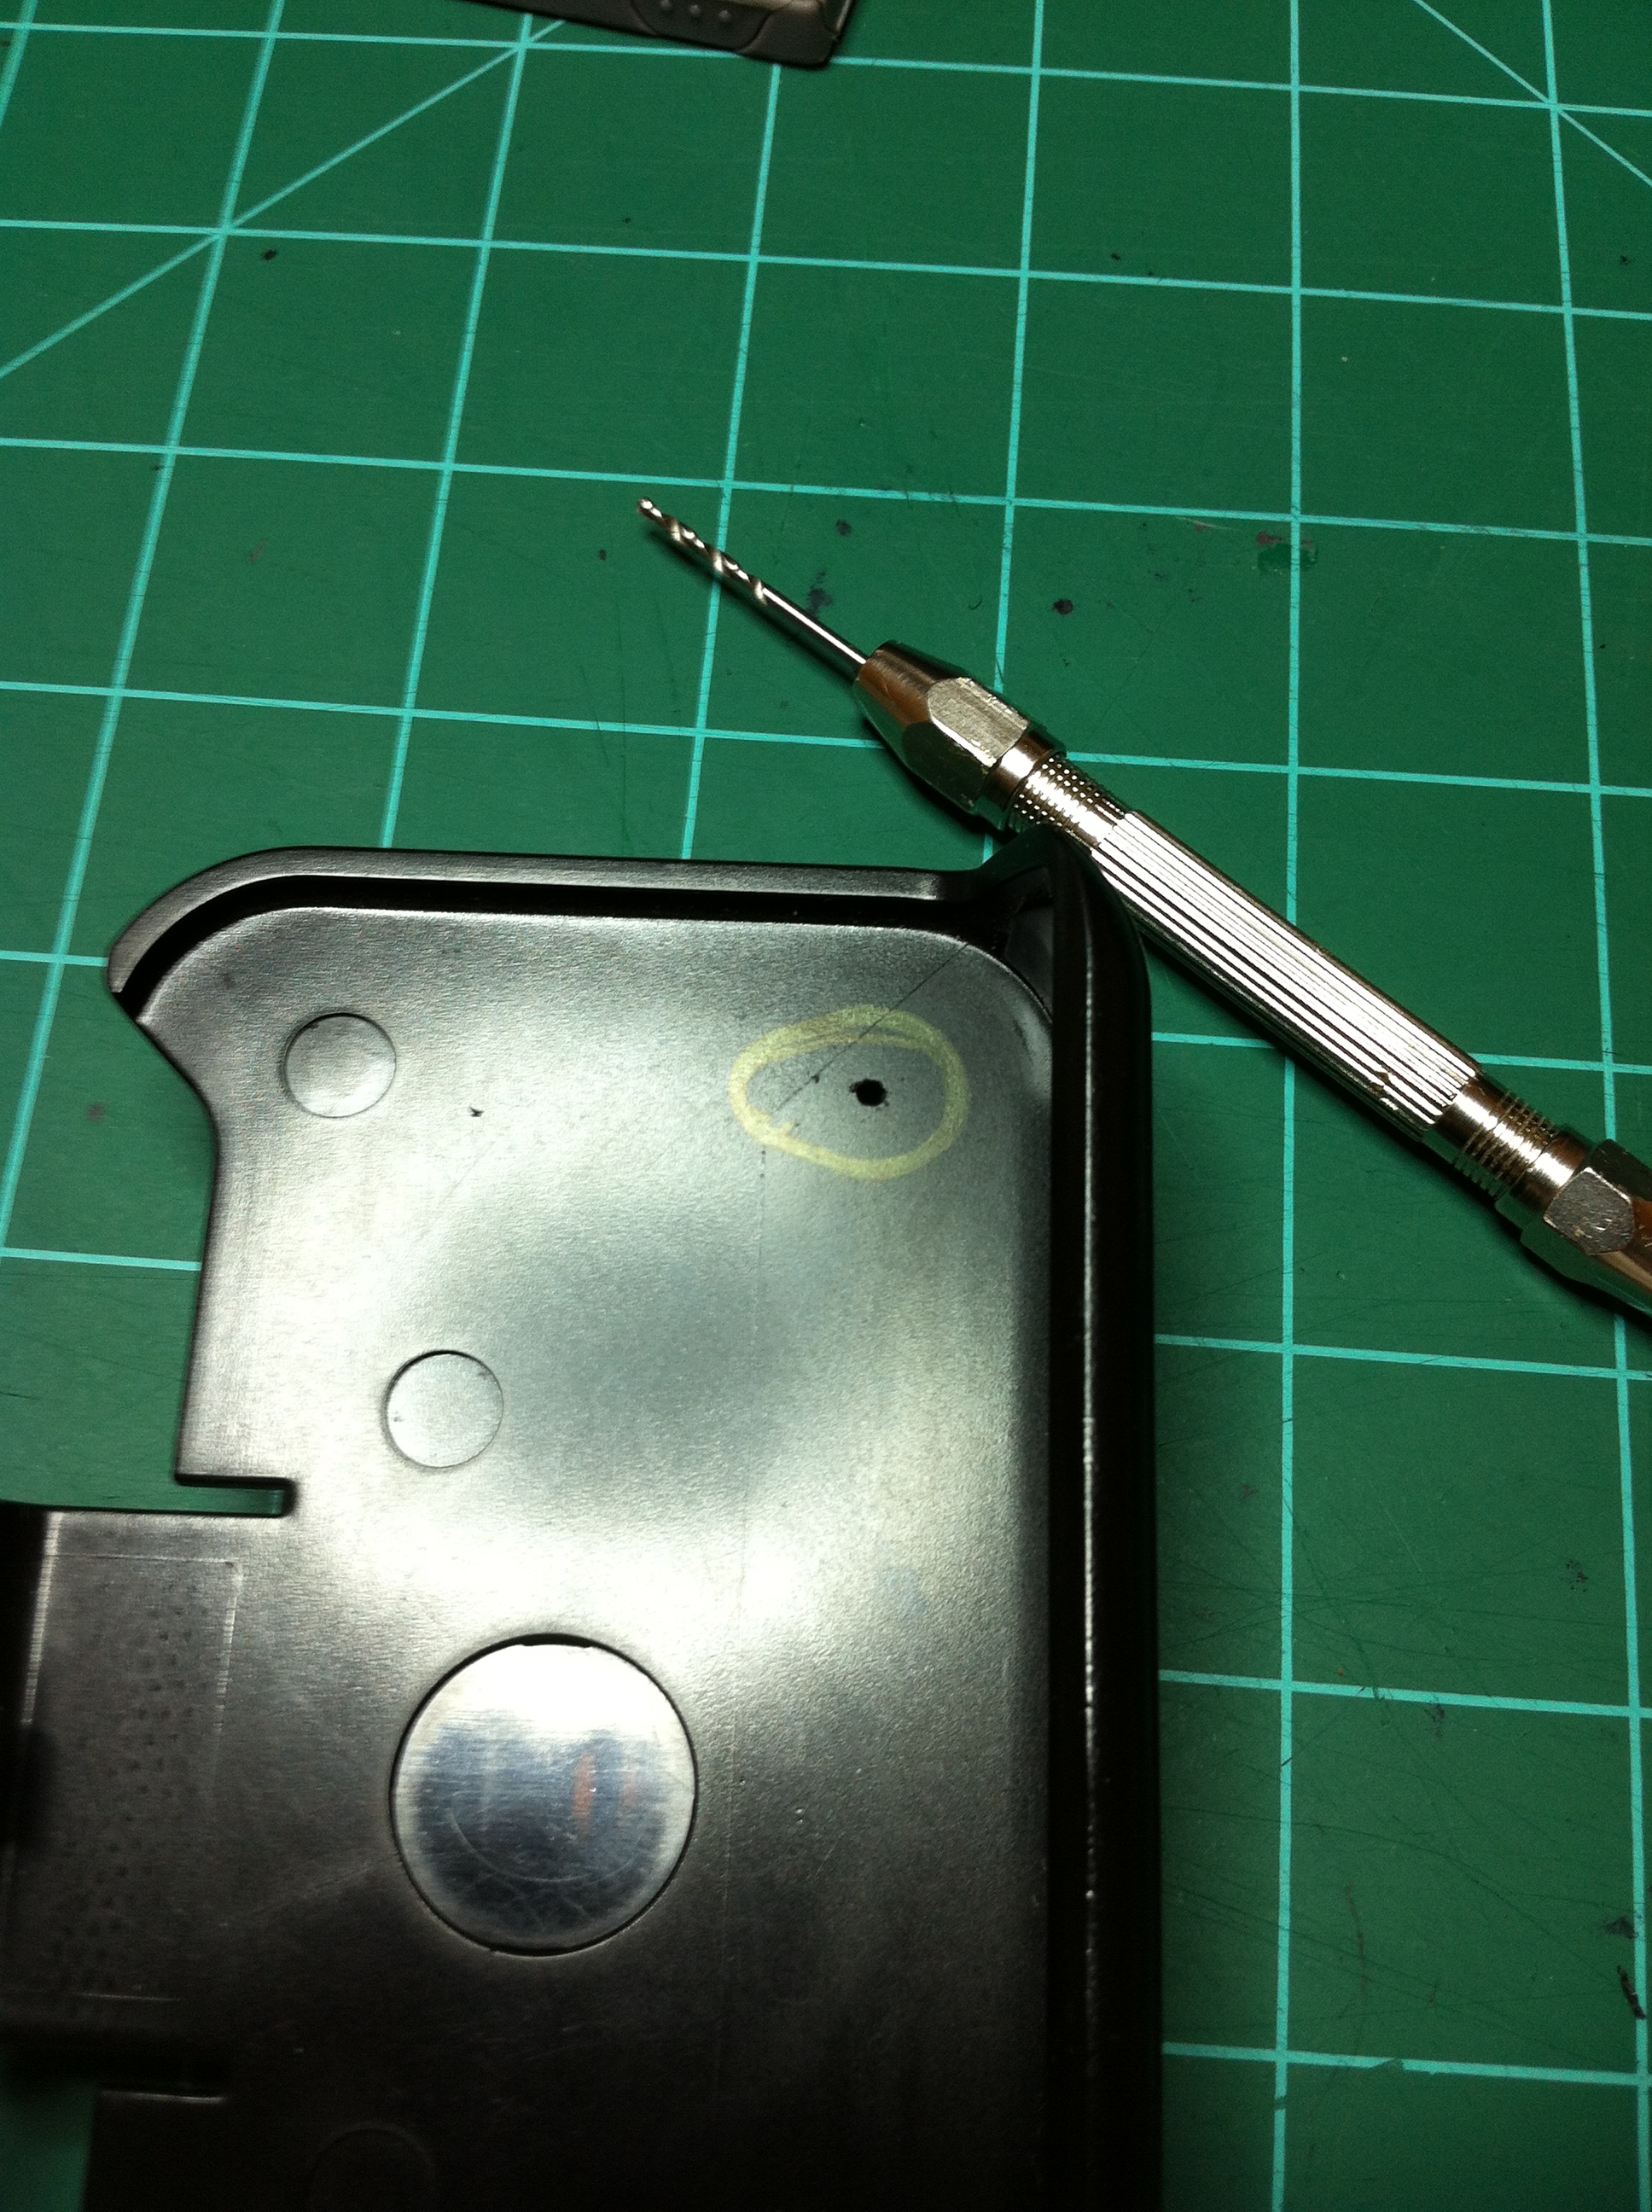
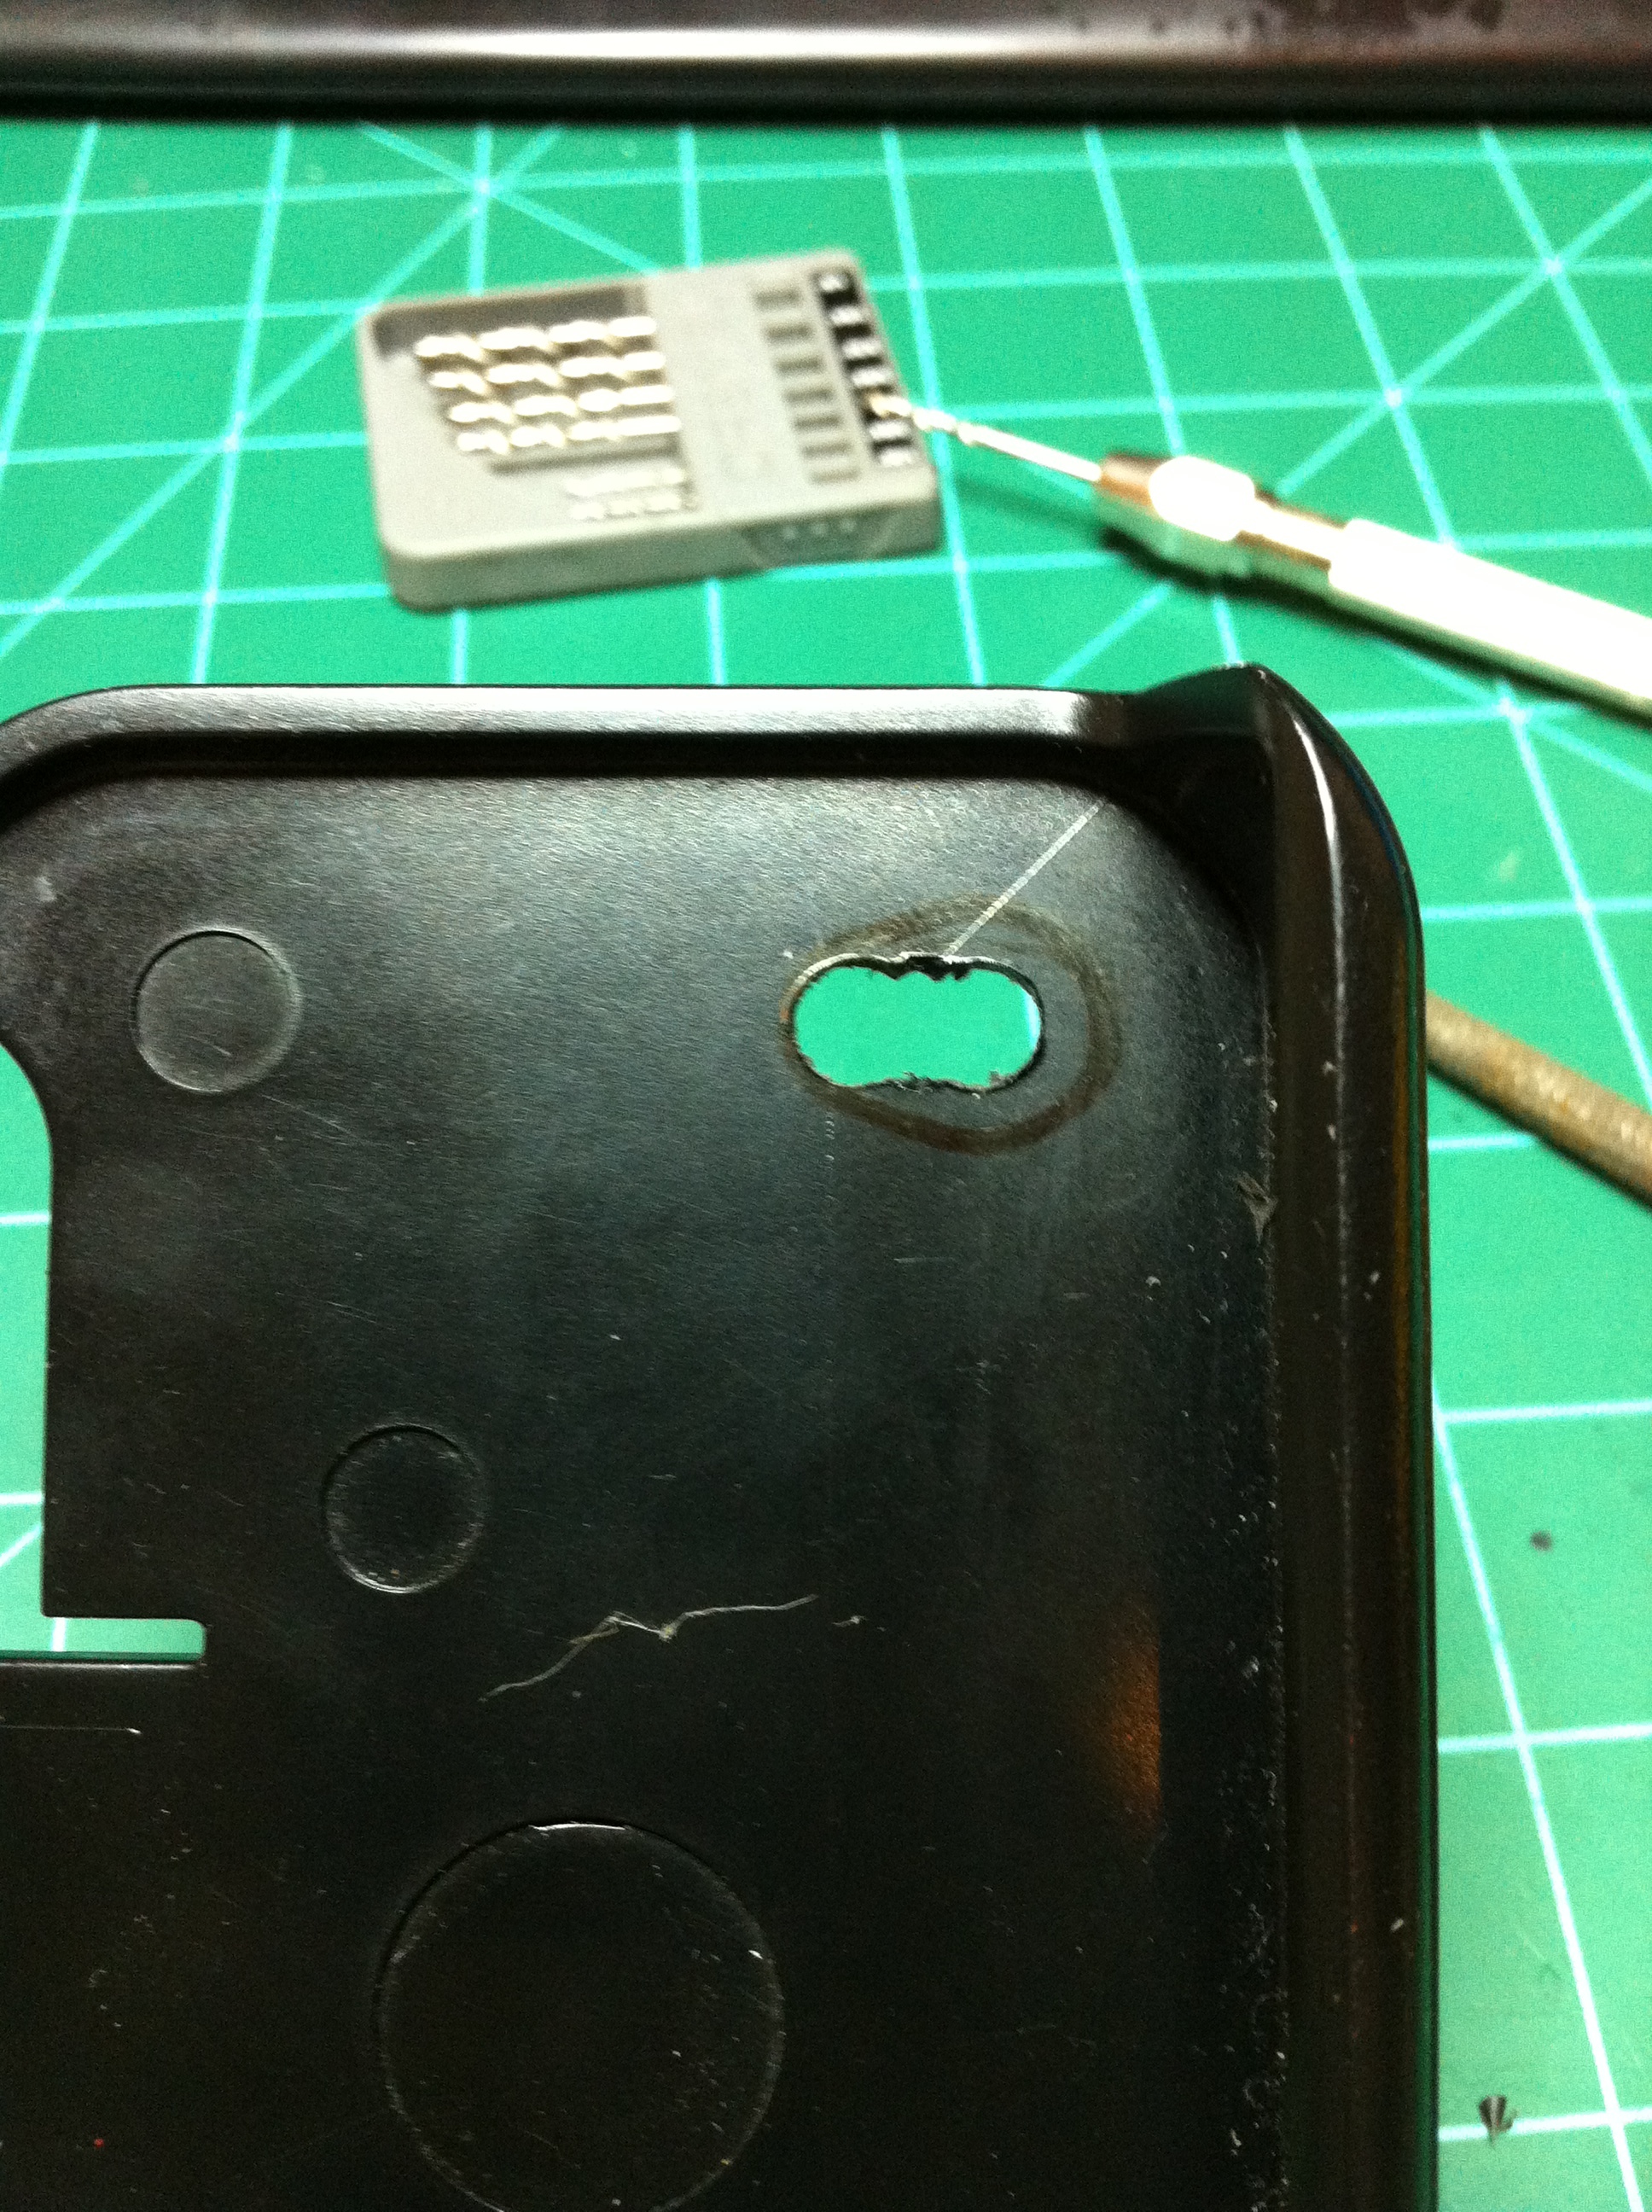
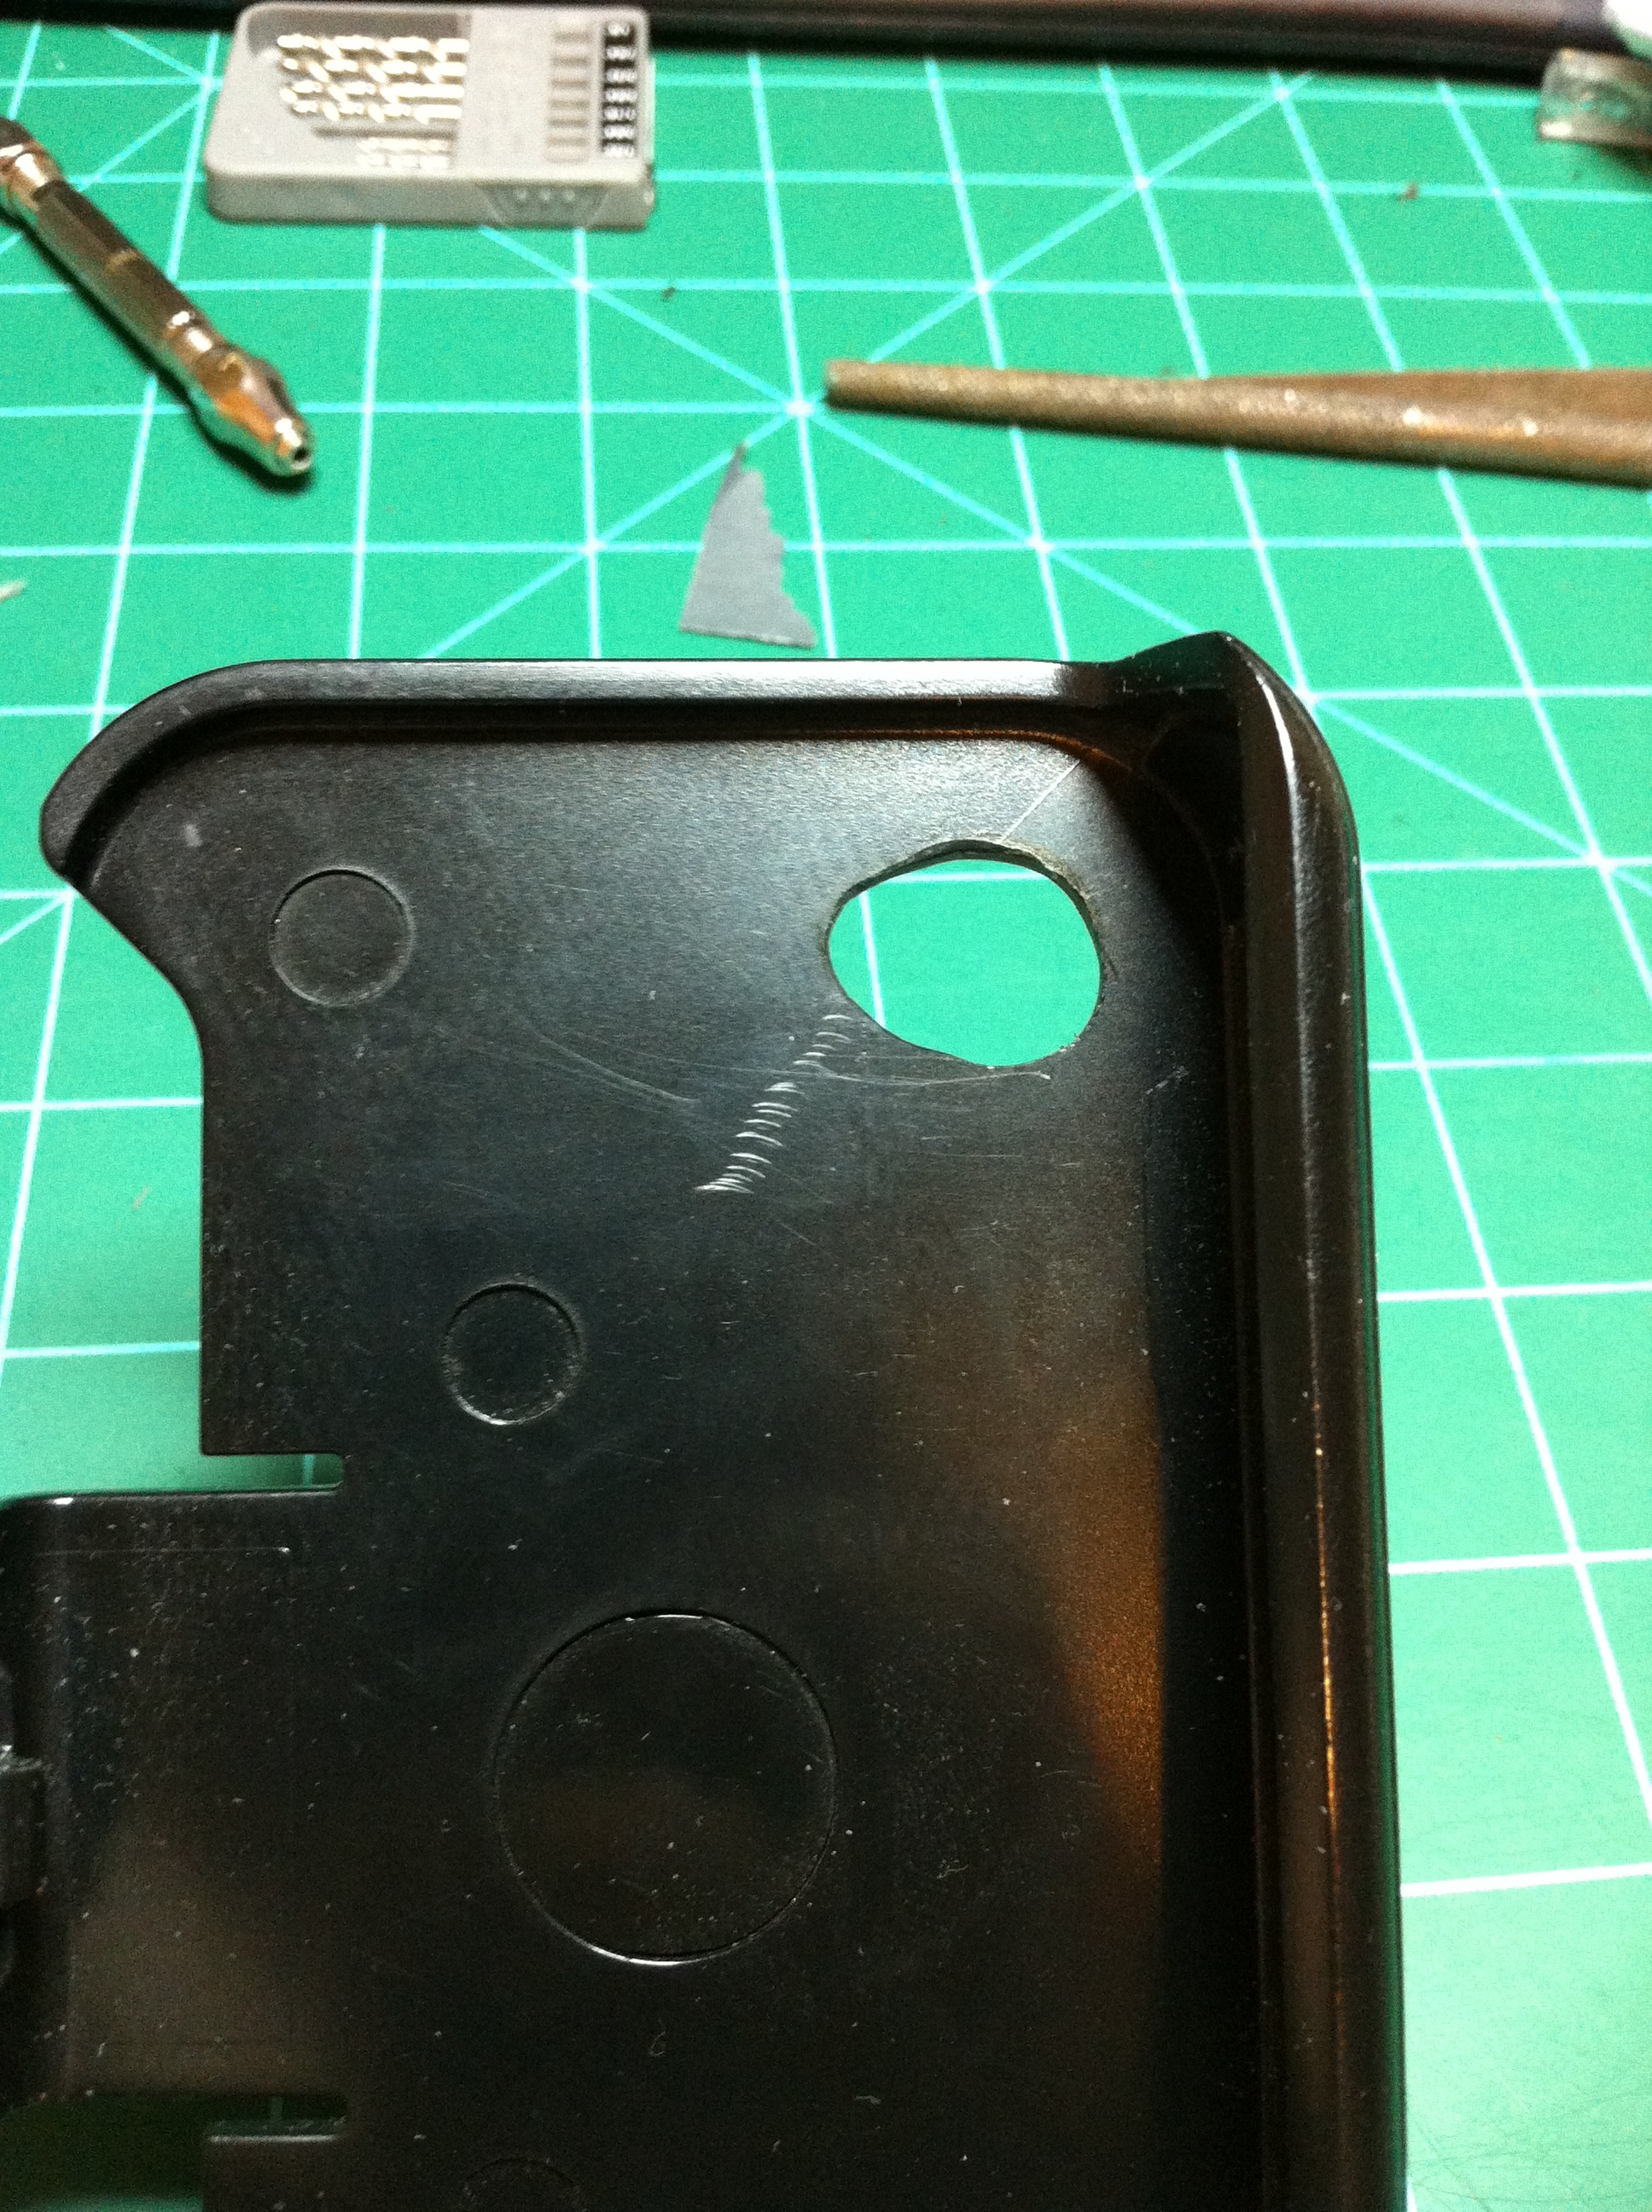
As I was sitting at my desk I was thinking how to go about building this tripod mount for my iPhone when I realized I could use the Otterbox belt clip. I use an Otterbox on my iPhone but I have never used the belt clip, nor do I ever plan on using it (at least for it’s intended purpose, that is). So the first thing I did was take the rubber off of my iPhone case and put it in the belt clip so I could mark onto the belt holster where the camera lens and flash are located. Using a pin vice, I drilled a small hole in the center of the mark where the camera lens is located to help guide the bigger drillbit I will use later. I then used a 1/4″ bit and a cordless drill to drill two holes in the camera lens mark. I wanted to get rid of all the plastic within this mark, but since I didn’t have a larger sized drill bit easily accessible, I used some rat-tail files to finish shaping the hole. I had to snap my iPhone into the clip when I got close to being done to check that there was no plastic in the way of the camera. When I got the hole to the right size, I used some 400 grit sandpaper to make it very smooth.
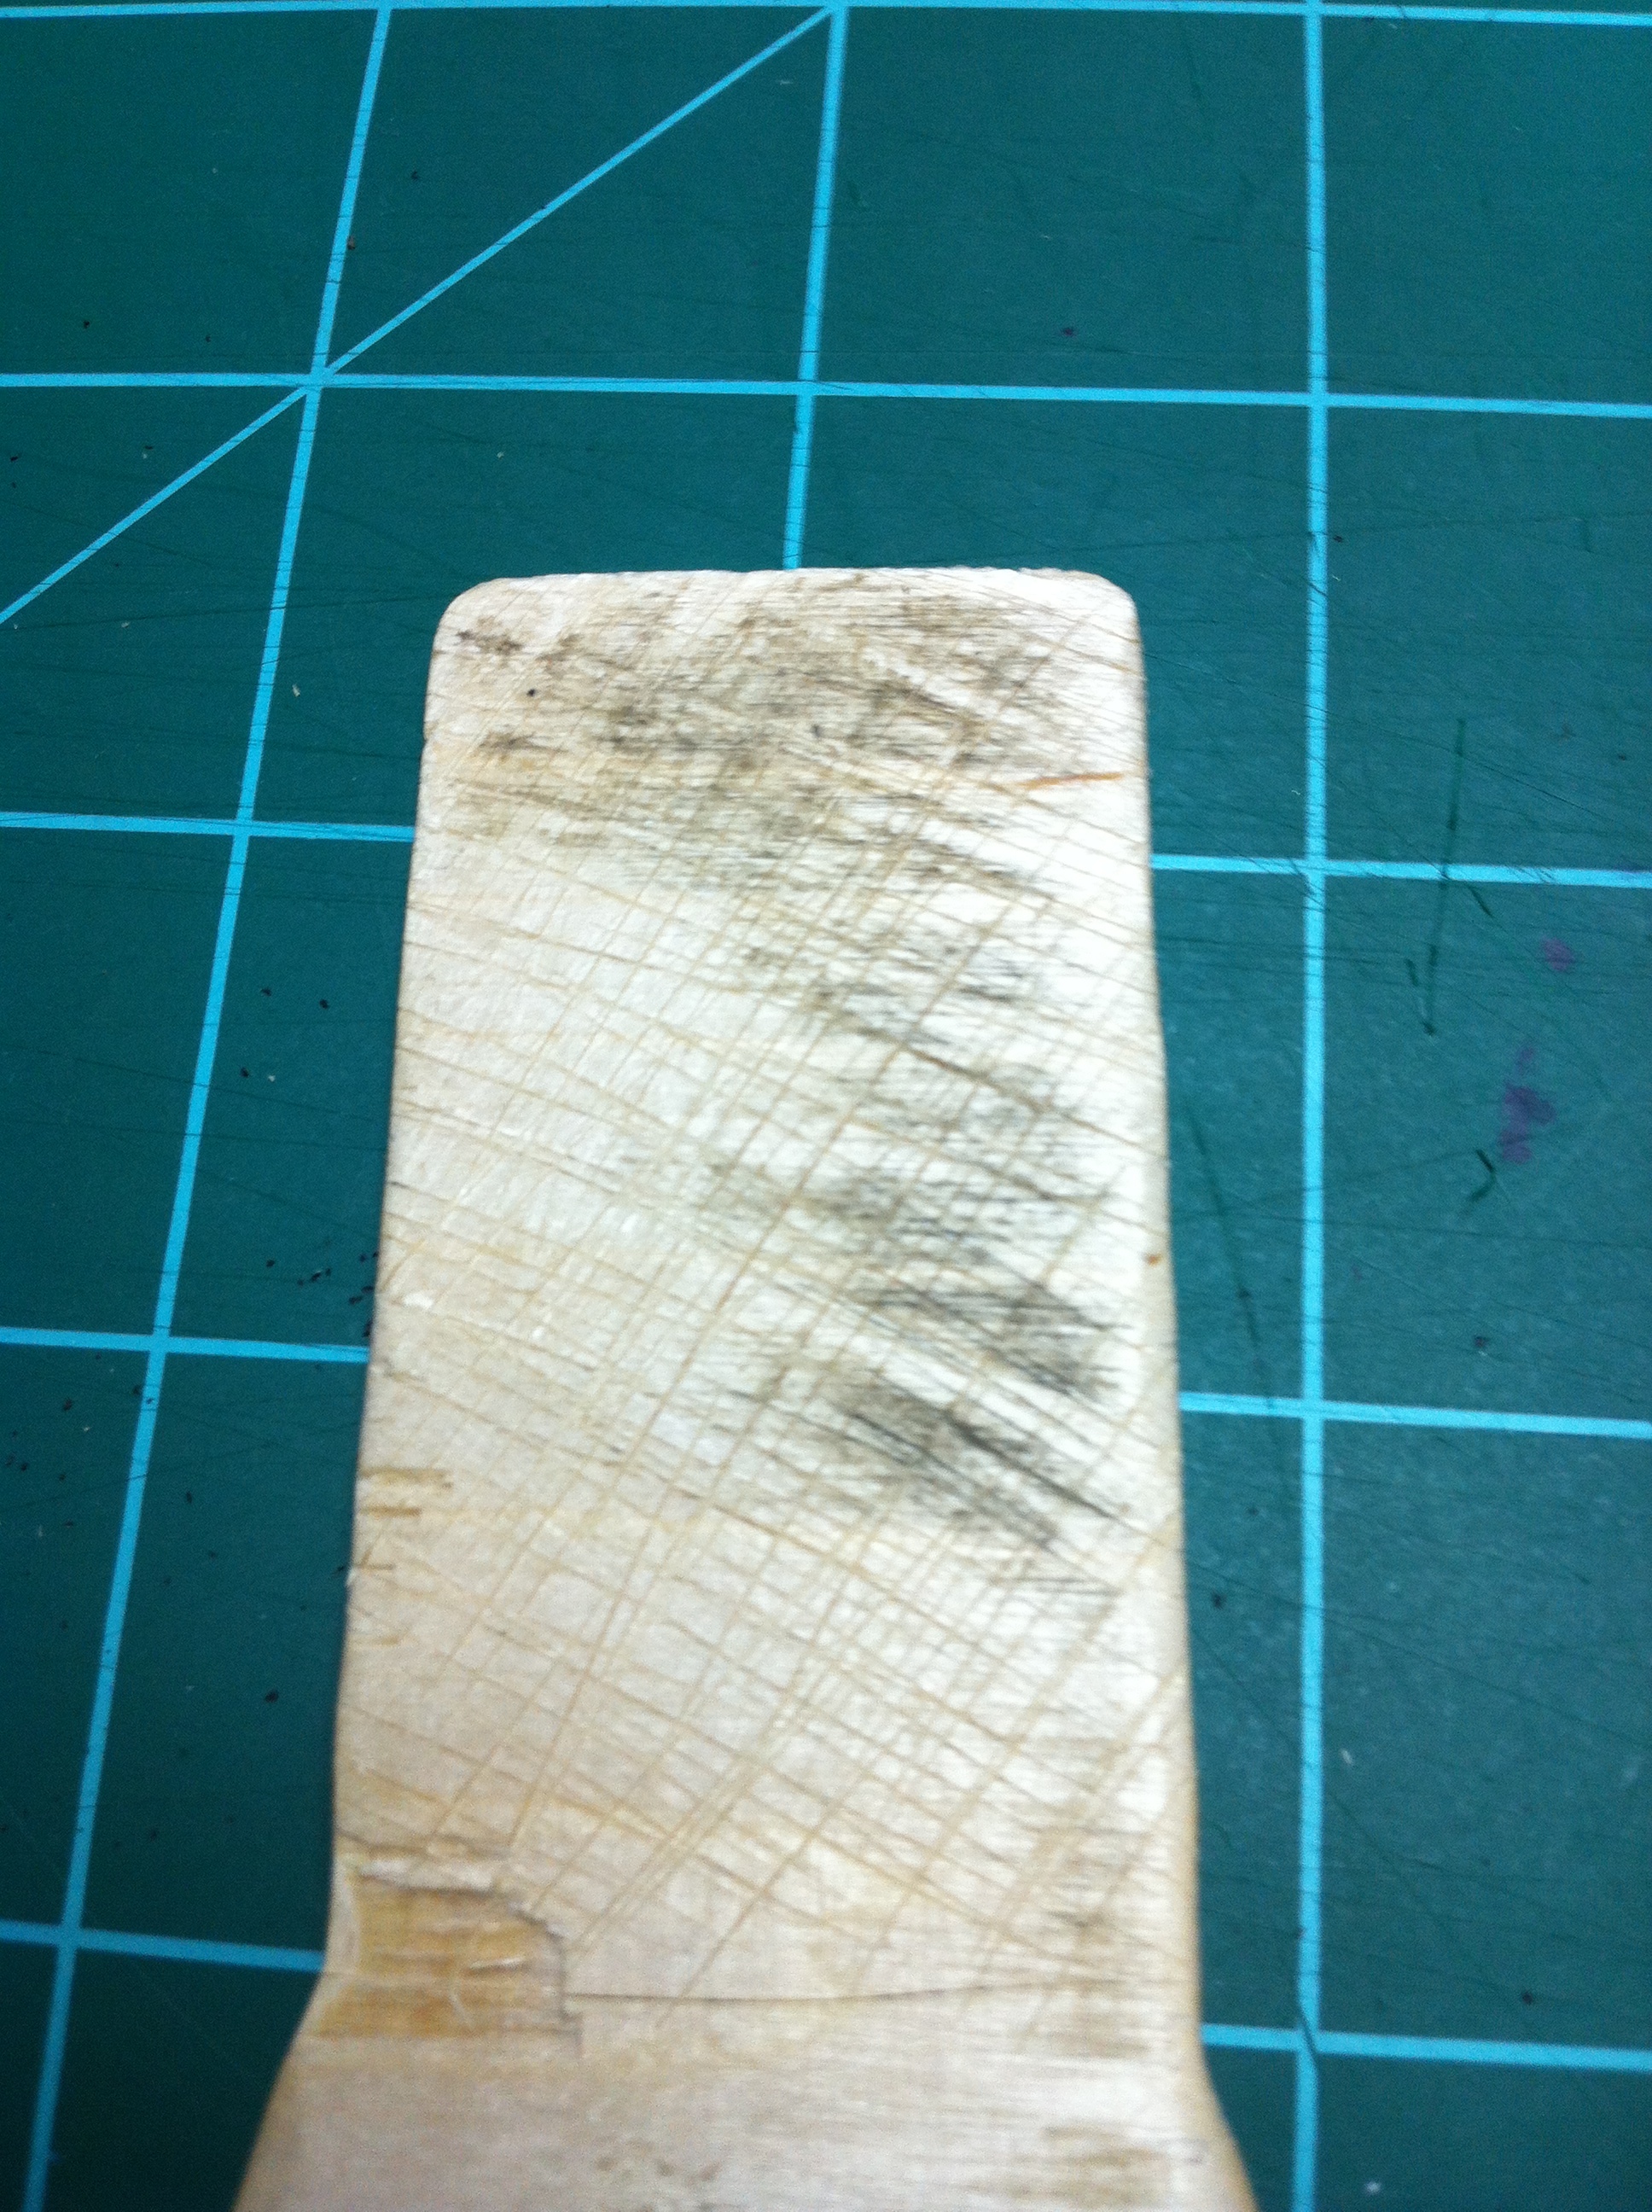
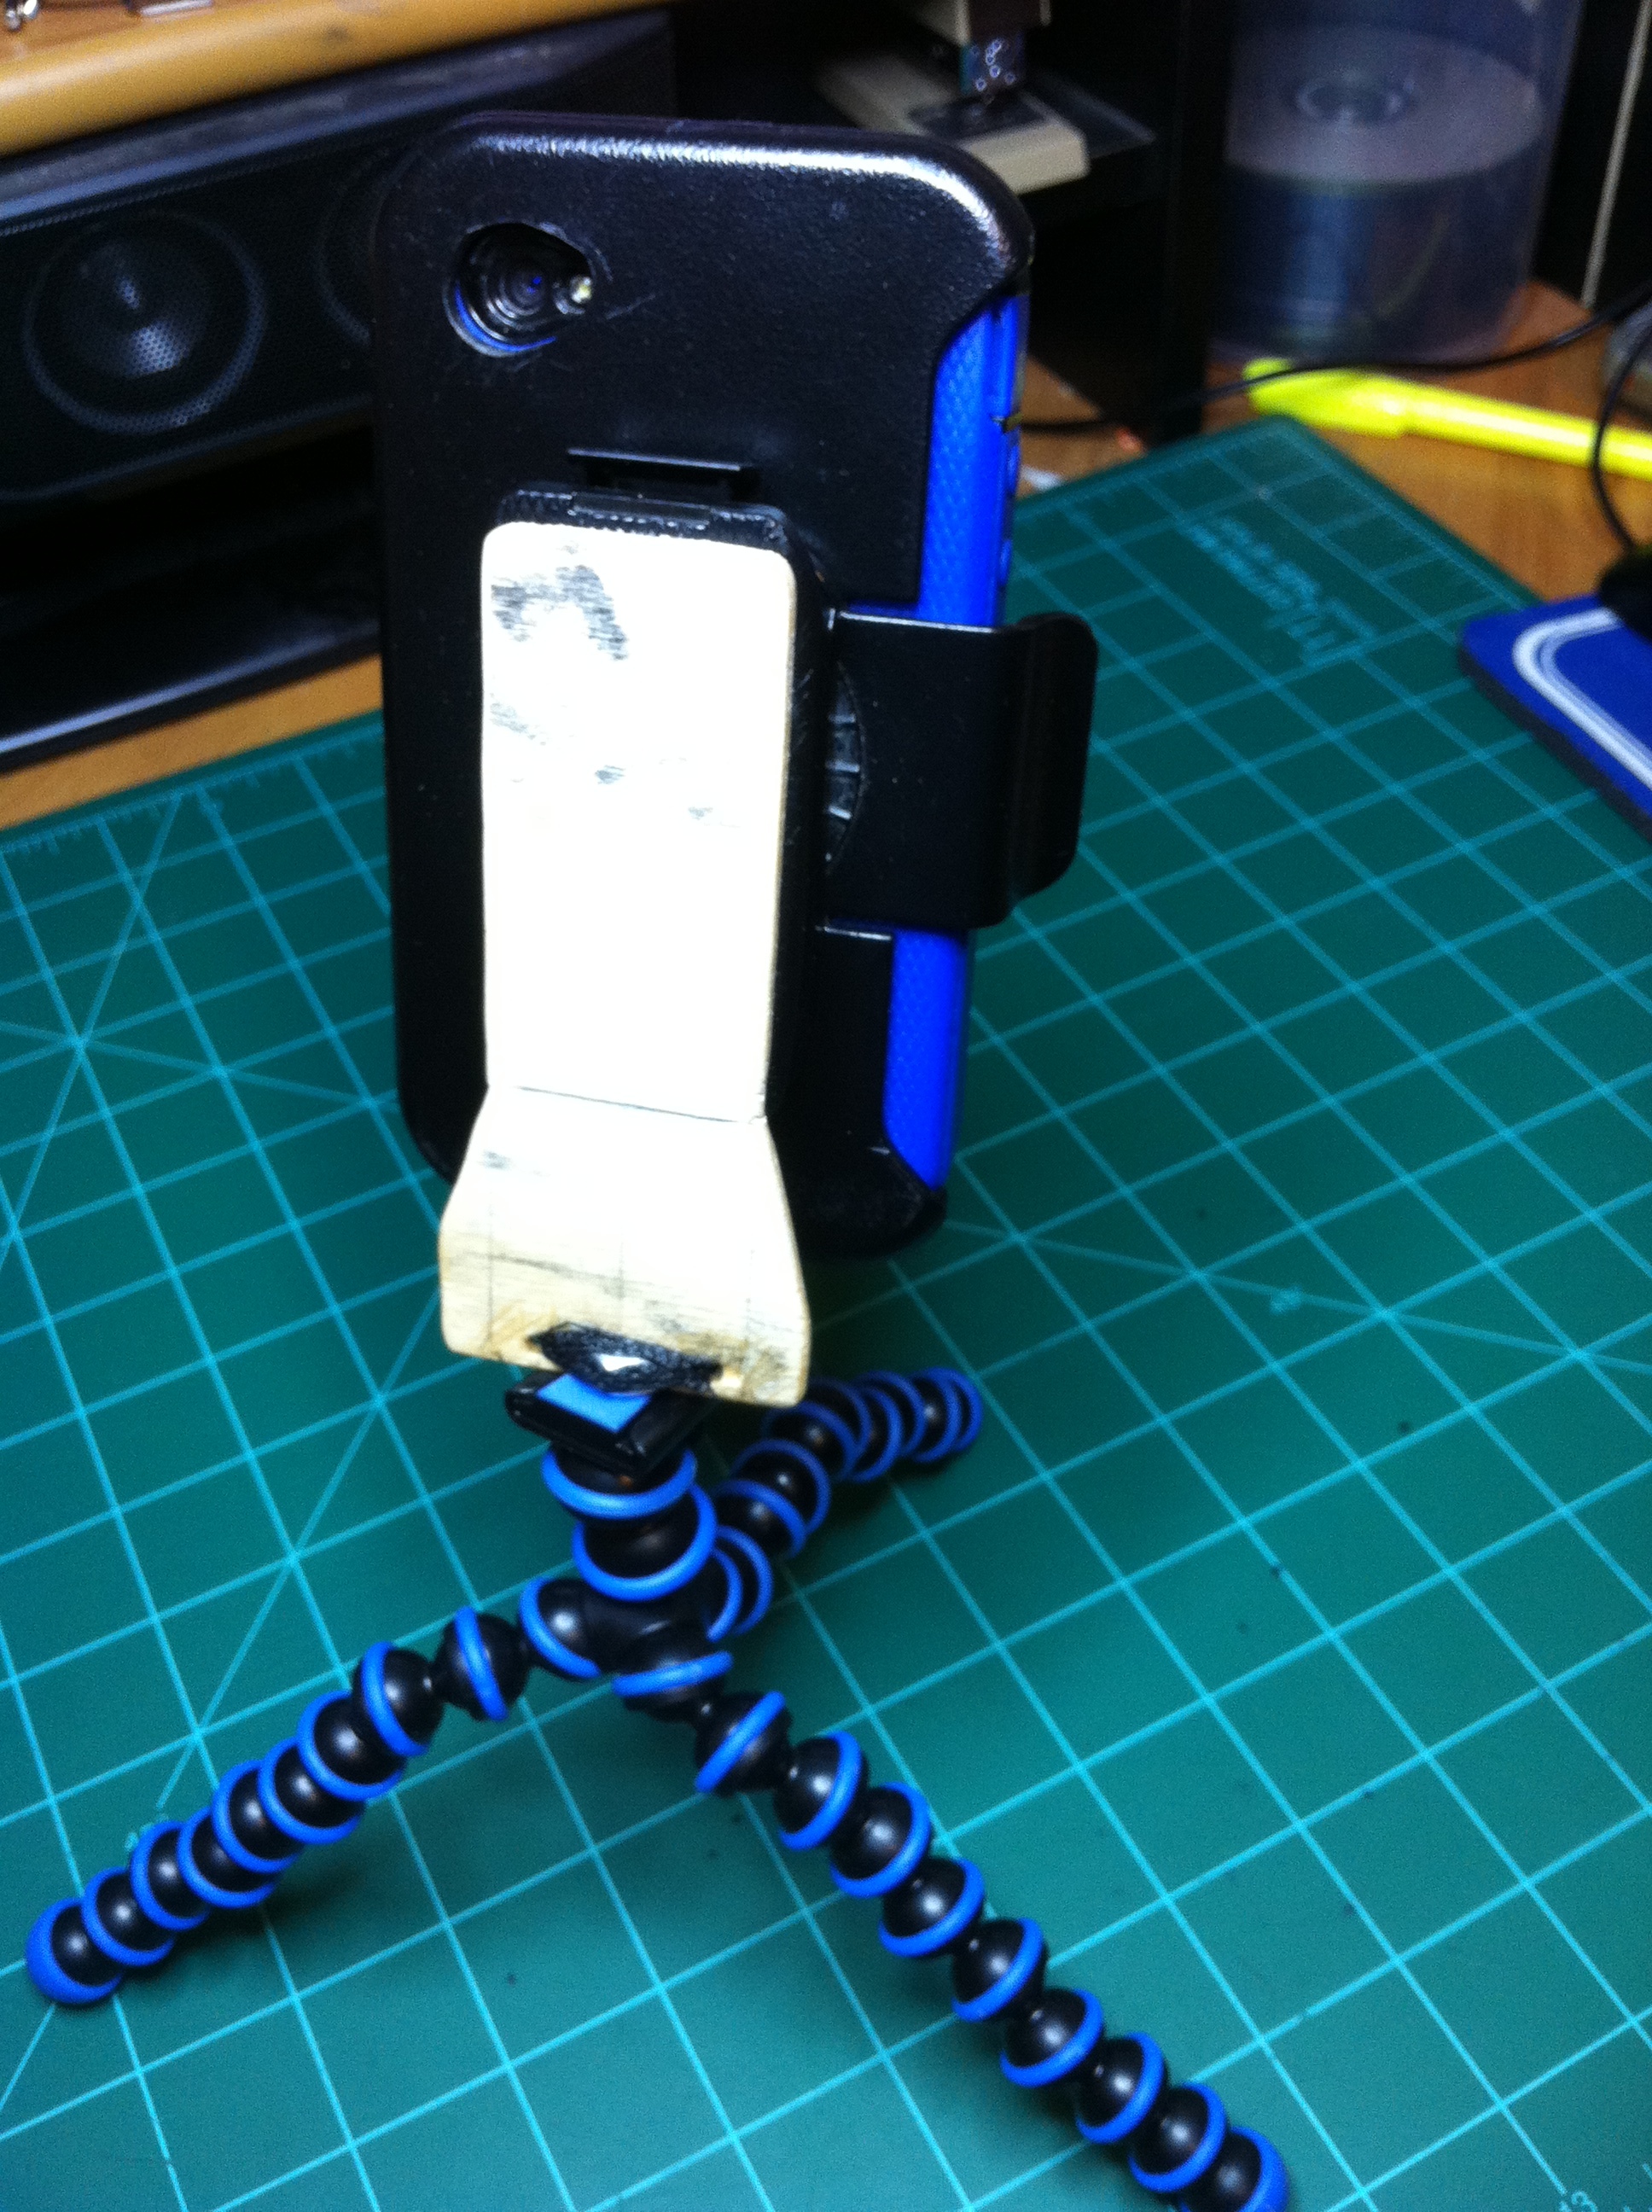
After finishing the hole, it was time to figure out a way to actually mount the thing to a tripod. My first inclination was to get rid of the actual clip part of the holster and maybe glue a 1/4-20 nut onto the back of the holster. –For the record, the standard tripod mounting bolt size is 1/4-20 — I then thought, “Hey, I could somehow mount the nut to the clip! That way I can take advantage of the fact that the clip rotates, which means I can mount my iPhone to a tripod in either portrait, or landscape!”. That is exactly what I did. I took a piece of 1/8″ plywood, cut it at 4″ long, 1-1/4″ wide, and near the bottom I had it flare out to 1-3/4″ wide. I had it flare for extra strength and I thought it looked nicer. I then cut a little notch for the nut to sit in and on either side of the notch I drilled a 1/8″ hole. I then roughed up the wood around where the nut will go and then super-glued the nut in place. I came back with my trusty thread and superglue trick to ensure that the nut wasn’t going anywhere soon. I ran the thread through one of the holes I drilled, then around the nut, through the other hole, and kept repeating this till I felt I had enough thread. After soaking it in superglue and letting it completely dry, I moved on to mounting the wood to the clip. I roughed up the clip pretty good using some sandpaper, a file, and most importantly I used an exacto knife. I used the knife to do a crosshatch type pattern to make sure the glue will have a lot of material to bite to. I then did the same to one of the sides of my 1/8″ ply. Before I superglued the ply to the clip I put some grease in the two holes on the clip. The two holes is where the clip pivots at and I do not want this to be superglued stationary. I then proceeded to cover the clip with superglue, stuck on the ply, let it completely dry, and then I was ready to take some steady tripod footage with my iPhone.
Picture time!