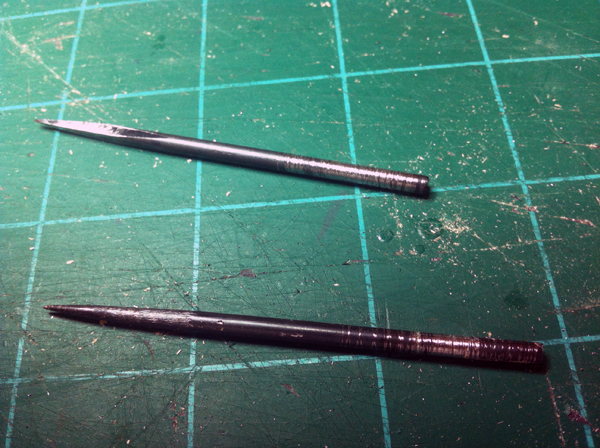
I was working on a project the other day, and while trying to make a hole just a little bit bigger, one of my most used tools broke on me! My Harbor Freight Circuit Board Reamer handle broke in half. Now you’re probably thinking something along the lines of, “Well you must’ve really been using it wrong to break the plastic handle”. Well, I really wasn’t. I was very surprised when it started to break because I was using very little effort. I guess you get what you pay for. Anyway, I wasn’t about to just throw away one of my favorite tools. I mean the metal reamers are still working great, I just needed a new handle. So that’s what I did, I fashioned a new handle for each reamer side.
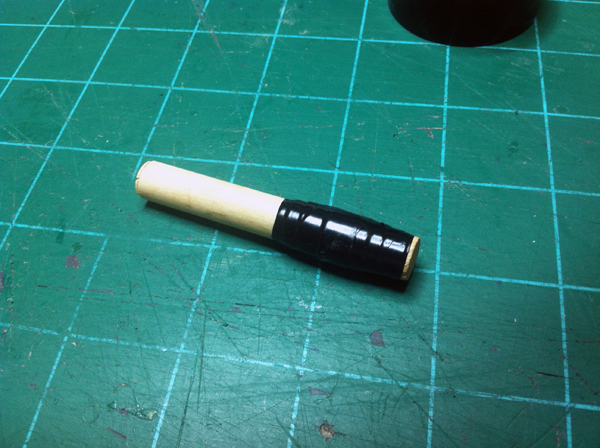
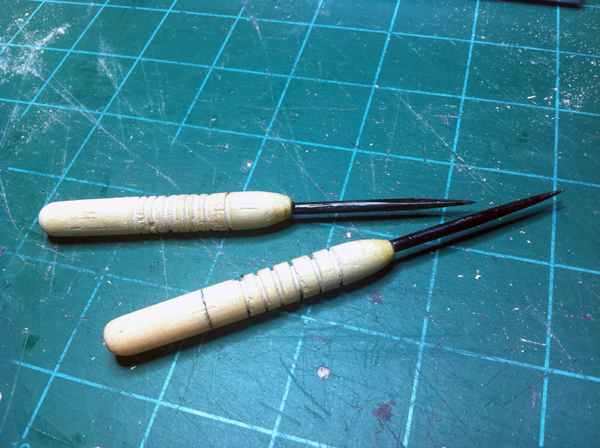
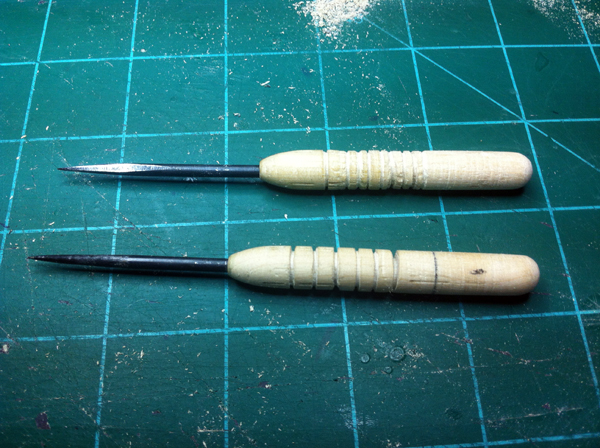
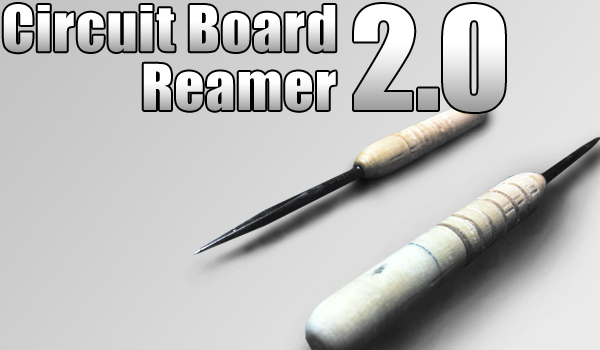
As you can see, I made two separate tools out of one because it is easier to use. I could’ve made one, double ended tool like the original, but I though this would be a little better in the long run.
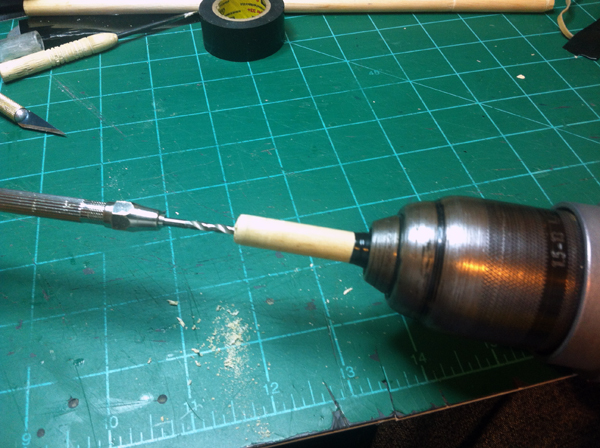
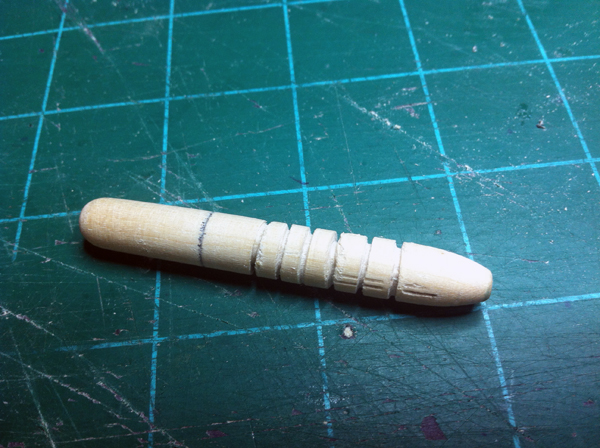
To make the new handle, I cut a piece of wooden dowel 2-1/2″ long. I planned on using a drill to spin the wooden dowel (kinda like a lathe) so I put some electrical tape on one end so the drill’s teeth don’t mar it up too much. After I had the dowel spinning in the drill, I used a pin-vise to hold a drillbit the same diameter as the reamer tool and I brought the drillbit to the wood and began drilling. So with this setup the drill bit stays stationary and the dowel is actually the one doing the spinning. The reason I had the dowel spinning is so I could get the hole in the very center of the dowel.
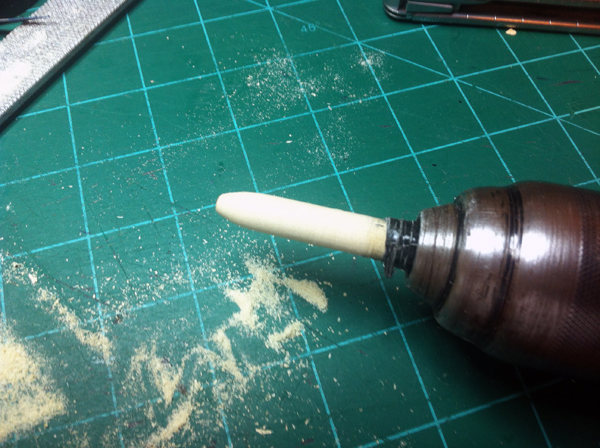
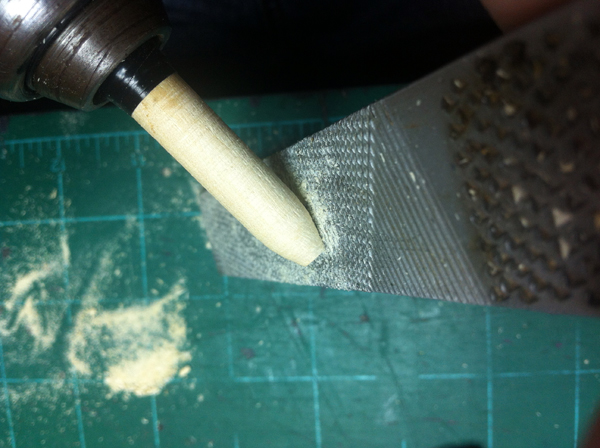
After driling the hole that the metal tool will go into, I grabbed a rasp to begin shaping. With the dowel still spinning, I used the rasp to taper the end that has the hole we just drilled in it. After that, I added grooves for grip. I created the grooves by spinning the dowel in the drill and using a hacksaw blade to slowly cut away the wood. The holes are just eyeballed. I spaced them and cut their depth at whatever looked good. I then used 220 grit sandpaper to clean everything up. I then took the dowel out of the drill and removed the tape. I then put the dowel back into the drill with the hole going into the drill first. I was careful to barely tighten the drill so I don’t damage the wood. I then spun the dowel and rounded and sanded the back-end of the handle.
At this point the handle was completed, I just needed to install the metal tools. Before gluing in the tools, I used a file to rough up the ends of the tool that were going to be glued. I filed grooves, I scratched it all up, and I also filed a flat spot to prevent the tools from rotating. After that, I mixed up some epoxy, and glued the tools down into their handles. Aside from the epoxy curing, the new and improved tools were finished.