My brother and I recently got paintball guns and we plan to play in the woods. We haven’t played yet, but I know the secret to winning will be camouflage. If he can’t see me, he can’t shoot me. I’m starting to get my thoughts together on how exactly to camouflage my gun. The other night I thought I’d start with something easy; a camo Co2 tank cover.
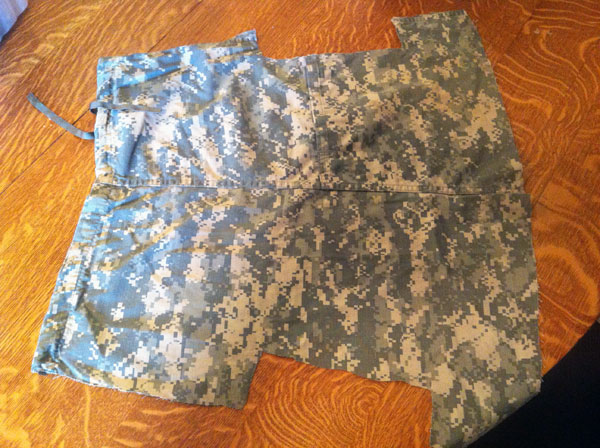
Before I get into how I made the co2 tank cover, I need to give a brief story. . . My favorite pants to wear are Army pants. They’re awesome. There are over 6 different pockets, they’re comfortable, and their camo! I normally have to wait all spring and summer till the weather is cold enough to wear them. A few weeks back I was going to go fishing and I didn’t want to have to wear my summer shorts that have only 2 pockets. I wanted some shorts that have enough pockets to fit all of my fishing gear! I went and dug out one of my many pair of army pants to turn ’em into shorts. I cut the pants at about knee length and thus had the best pair of shirts I have EVER owned!! I saved the cutoffs for use in future projects, and it was just the other day I used them to make a camo co2 tank cover.
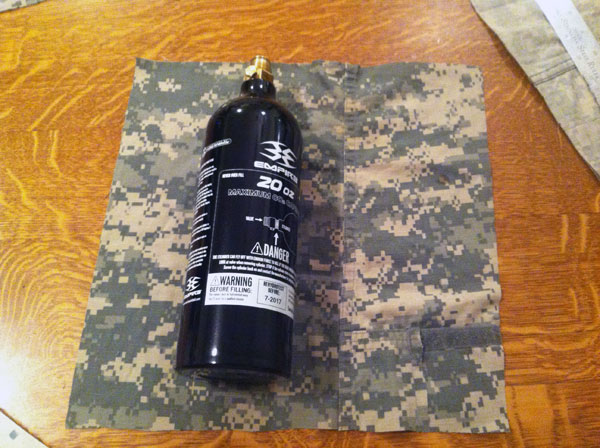
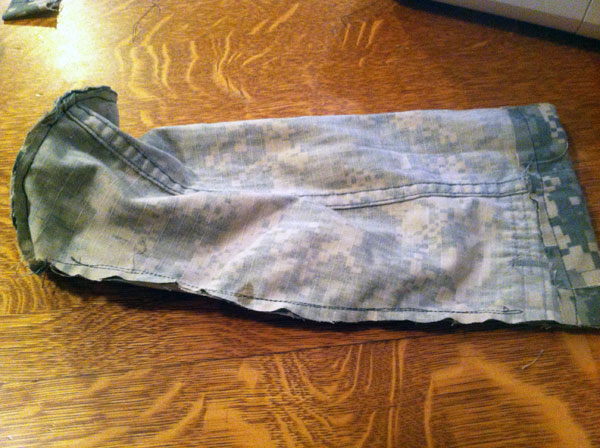
To make my co2 tank cover I took one of my army pants cutoffs and cut it down the edge to make it lay flat. I then measured the diameter of the bottom of my co2 tank. It was about 3.5″ , so I cut a 4.5″ diameter circle out of the fabric. This will be the bottom of my tank cover.
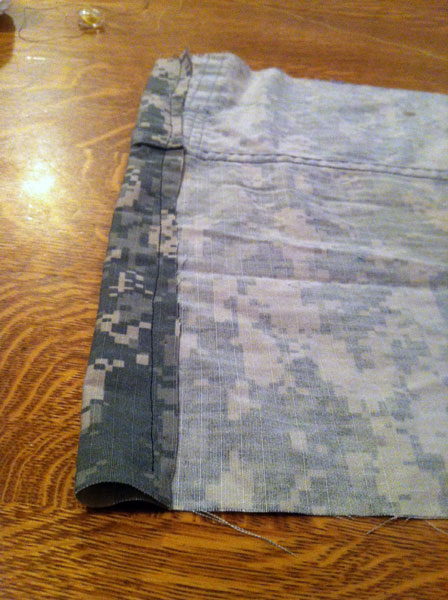
My 20oz Co2 tank is about 11″ tall but I wanted to make my tank cover longer than my Co2 tank is in case I ever want to put foam in the bottom or something. So, for the walls of my cover I cut a 13″ x 13″ square of fabric. I then cut a strip of my fabric square with the width being the circumference of my tank plus and inch or two. When I had this piece cut out, I folded over the top inch of fabric onto itself and sewed it. This fabric ‘tunnel’ will be where a draw string will go later on.
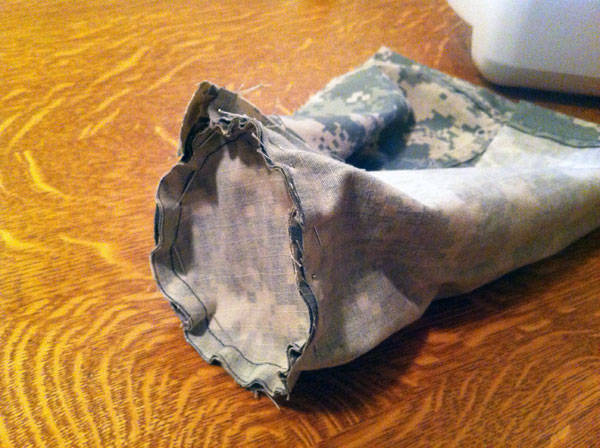
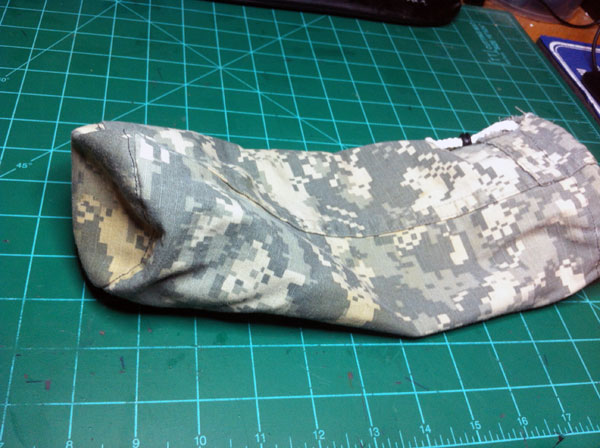
At this point I took my fabric circle and the 13″ long piece that will be the walls of my cover and pinned them up in the way that I planned to sew them. I had the wall pinned around the edge of the circle bottom piece, and I also had the wall pinned up along where the two ends met. All of this was inside out though, because after I sew it, I will flip it right side out and then no one will see my seams. After it was all pinned up, I fired up the sewing machine and sewed ‘er all up. I didn’t however, sew through my fabric tunnel because if I did it would be impossible to get a draw string through it.
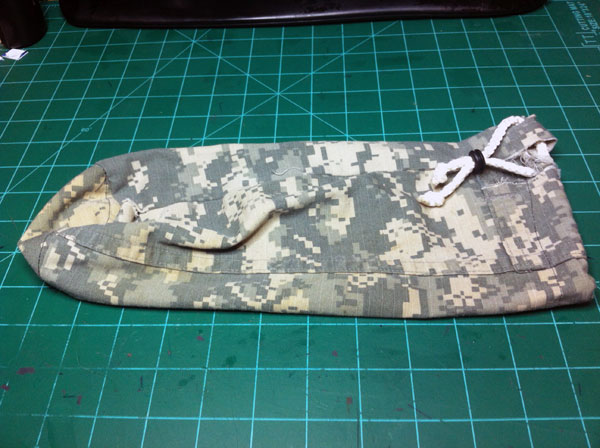
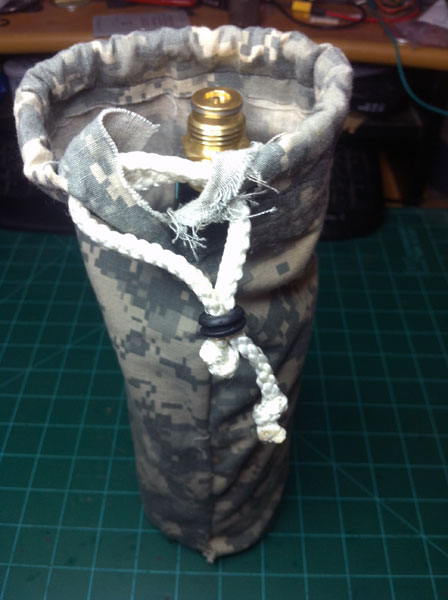
At this point I had a usable cover. I flipped it right side out after sewing and it fit my Co2 tank well, although it was slightly longer than I had hoped for it to be. The only thing I had to do at this point was to put in a draw string. I went and found me a short piece of small white rope and, with the aid of a piece of wire, I fished my drawstring through the drawstring tunnel. My drawstring worked well, but I didn’t want to tie it to keep it tight, so I found me a small rubber grommet and shoved the ends of the rope through the grommet. It was very tricky to get the two ends of the rope through the grommet because of the size of the grommet, but it worked just like I wanted it to. When I pull my drawstring tight, all I have to do is slide my tight rubber grommet down to the fabric to hold the rope from slipping and my cover getting loose.
That is it! Not hard to make at all. It took me all of about 45 minutes to do. It would probably take someone who’s more familiar with sewing much shorter, but that was my first time to sew something like that, and the first time for me to use a sewing machine. But I’m really happy with the way it turned out. I just hope it helps me stay hidden when I’m playing paintball!
;
Pictures? Of Course . . . . .